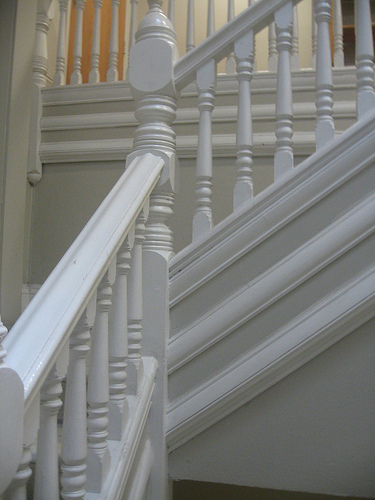
Interior Trim Molding Paint
0 Comments | Posted by armchairbuilder in Build Your Own Home, Owner-Builder
How to Build a Home, Step 45
The interior trim molding paint activity starts after the carpenter finishes installing all cabinets and trim. In order to create a high quality, professional finish, there are some key steps to take prior to painting. This is step 45 in our blog series on How to Build a Home. If you’re new to Armchair Builder, you may want to follow along as we take you through the complete process to build a home from initial planning to move in. Whether you are building your own home as an owner builder, or having a new home built for you, this blog series should help you hold your contractors accountable. Your home is probably the biggest investment you will make…so it’s important to make sure they get it right.
Application
Since the typical new home in the U.S. today has painted trim, we will be sharing tips for this activity here. If you’ve decided to go with a stained trim for your new dream home, the process will be a little different but the overall idea is the same…get the trim stained prior to securing it to the walls and ceilings.
Should you have your interior trim molding paint applied with a brush or a sprayer? If the painting contractor knows what they are doing, either method will look good. But when the spray job is chosen and it’s done properly, the result can look like a fine piece of furniture. Have you ever heard of someone painting their car with a brush? No. Why? Because it’s very difficult to keep the brush strokes from showing up in the finished product. So a quality spray job is almost always preferred and is typically much more efficient. When you have a whole house full of interior trim molding and doors to paint, using the spray method can save hours and hours of labor.
Schedule
We mentioned back in Step 42, paint walls and ceilings, that it’s possible to save some time in your new home building schedule by having your painter put the first coat or two on the trim and doors when he/she comes out for the walls and ceilings. This will allow them to be most efficient and cuts time out of your building schedule. In order to accomplish this, you will need to have the material shipped out to the home before the painting contractor shows up to paint the walls. This will shorten the interior trim molding paint activity after installation. If you decide to go with this most efficient route, the schedule will look like this…
- Deliver interior trim and doors into garage (Keep up off the concrete floor)
- Painting contractor shows up to paint walls and ceilings
- While part of the interior painting crew works on the interior wall, the other group preps to spray the trim and doors in the garage.
Here’s a couple tips for the trim painting in the garage…
- Make sure the painting contractor covers everything that might get paint on it including the walls, floor, garage door…etc.
- Trim Storage: Don’t place the trim directly on the concrete floor at any time…even after delivery. The concrete is still fresh/green so it’s giving off moisture in the hydration process. You don’t want the moisture to get into the trim as it will swell and then later shrink after installation, leaving gaps in the joints = UGLY. Take a look at the storage rack in the picture above to see how your molding can be stored properly in the garage until installation by the carpenter.
Interior Trim Molding Paint Quality Check
Painting isn’t rocket science but there are some key things that need to be done to get a top notch result. Here are the key quality checks to help you with the interior trim molding and door paint activity when building your dream home.
- All finished surfaces need to be protected from paint overspray and drips. This includes windows, hardware, flooring, cabinets…etc.
- All nail holes need to be filled with a shrink free material prior to painting.
- All moldings should be neatly caulked to the wall or ceiling.
- Doors – All six sides of your interior doors need to be painted. This will prevent warping. A warped door can have major operational issues like sticking, latching issues…etc. Doors should be sprayed/painted prior to installing. Hinges should be removed prior to spraying.
- Trim – All bare wood should be primed. Even the backside of the trim that faces the wall needs to be primed and especially all cut edges.
- Manufacturer: Painting contractor is to follow all paint manufacturer directions for application.
- Touch Up Paint: Contractors shall leave a minimum of one gallon of each color/type of paint for future touch ups and color matching.
These tips for interior trim molding and door painting should get help you get a quality finish. Be sure to stick around as we continue our blog series with step-by-step details on How to Build a Home. Our next step will be…Installation of Countertops. Did you catch our last step, Install Trim and Cabinets?


