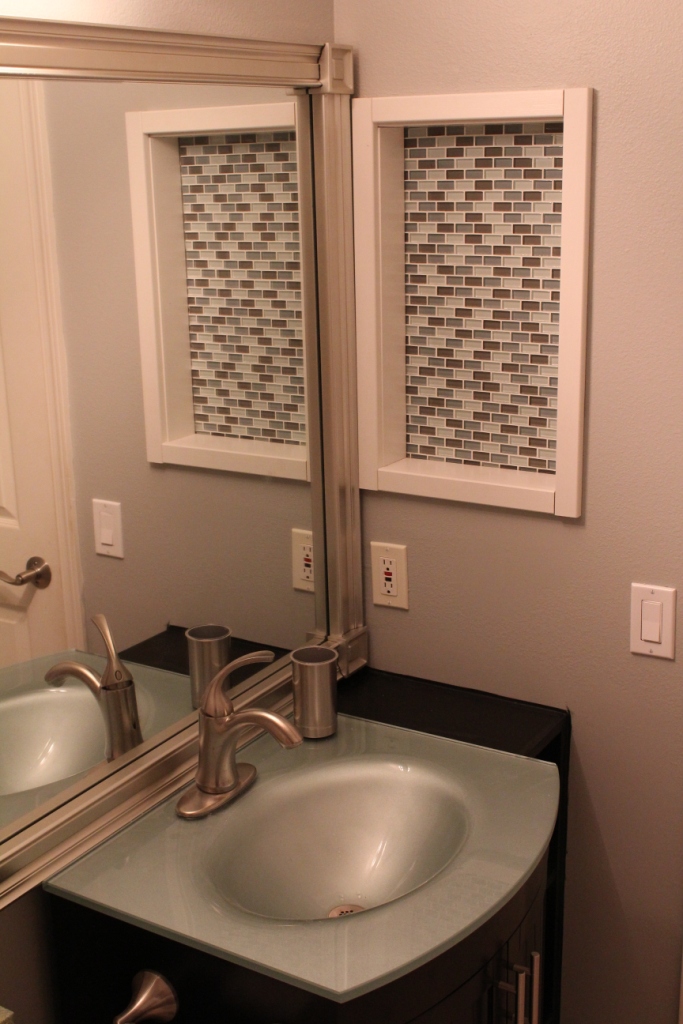
Glass Tile Art Niche Installation
0 Comments | Posted by armchairbuilder in Bath Remodel, Cool Design, Save Money
Adding a glass tile art niche is a great way to update the look of any space. With about $30 and some time, you can create a great, new focal point. Here we will discuss how we added a new glass tile art niche to our bathroom remodel.
- Open up the space. To create the space for our new glass tile art niche, we removed the old existing mirrored medicine cabinet. If you don’t have a medicine cabinet to remove, you will need to remove drywall back to the studs. Make sure you have no mechanicals (electrical, plumbing, HVAC) or insulation in the new space. If you do, you may want to reconsider as the cost will go up exponentially if you need to move items out of the way.
- Frame the Opening. After removing the drywall, you will add new supports at the top and bottom of the opening. If you have a standard 2×4 wall, just cut two pieces of 2×4 the size of the opening, slide them into the space at the top and bottom and screw them into place.
- Apply tile adhesive. You will apply tile adhesive to the area where the tile is going using a “V” notched trowel tilted at a 45 degree angle. Be sure to use white tile adhesive if you are using translucent glass tiles. This will keep the adhesive color from changing the color of the tile.
- Place glass tile. Now you apply the glass tile to the adhesive…carefully centering the tile sheet in the opening and making sure it is level. Once you have the sheet of tile in the correct position, press it firmly into place. We trimmed three rows of tile from one of our two sheets of tile so it would fit our space. You can use these extra pieces to fill in the holes along the staggered edge of the tile sheets. You may or may not need to cut the tiles, depending on how much space you have at the edges. If you do cut the glass tile, use a special diamond blade made especially for glass tile for your wet saw.
- Wait. Some people go ahead and grout the tile after it sets up (on the same day)…but if you can, wait 24 hours before grouting. If you grout too soon, you may push the tiles out of place.
- Install Grout. Be sure to use a non-sanded grout if you are installing a glass tile art niche. The sand in the grout will scratch the face of the tile. So, work the non-sanded grout into the spaces between the tile, removing the excess as you go.
- Remove excess grout. Once the grout has had time to setup, wet your sponge (get the sponge at your home improvement store in the tile section…don’t use the soft one you use on the car), and wipe across the tiles to remove excess grout. Don’t get the sponge so wet that it drips. And be careful not to remove the grout from between the tiles.
- Buff clean. Wait a few hours for the grout to firmly setup, and then using a towel, clean any last grout remnants from the face of each tile.
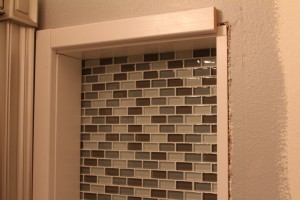
- Rip side jambs. Now you will need to cut down the 1×6 jambs (assuming you have a 2×4 wall) to fit your new glass tile art niche. Measure the distance from the face of the tile to the outside edge of the drywall. You want your jambs to be this exact width. Now, cut the jamb material lengthwise to fit.
- Install jambs. I like to use a quick holding glue to secure the trim…to prevent from having to put nail holes in the trim. It’s also a good idea to paint all of the jamb and trim material and let it dry before installing. This way, you won’t have to take the extra time to cut-in with a paint brush.
- Install face trim. Once your jambs are in, you can cut and install your face trim.
- Caulk. If you do a good job with your cuts, you won’t need any caulk. You might still prefer the finished look that caulk provides. In this case, wait until your glue dries thoroughly before sealing with caulk.
- Touch up.
You can add a glass tile art niche for $30 and just a few hours of your time. Check out our new video for more details on installing your glass tile art niche.


