Installing a Frameless Tub Shower Enclosure
1 Comment | Posted by armchairbuilder in Bath Remodel, Great Products, Save Money
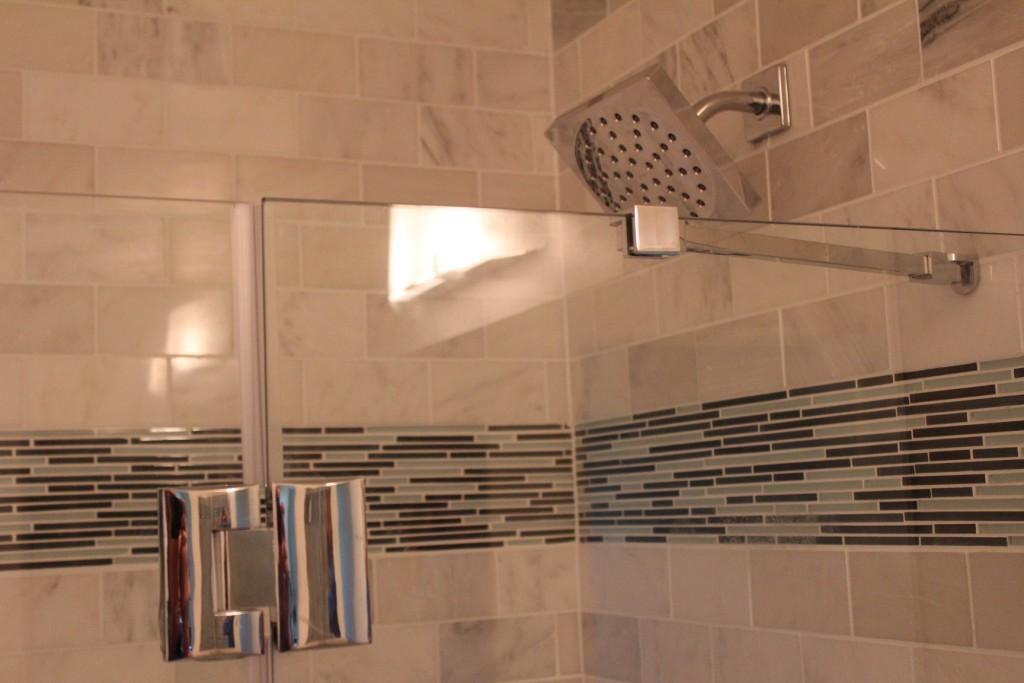
In our last article we talked about how you can install your own frameless, tub shower enclosure for under $500. Sure, you can have this done for you if you can find a reasonably priced glass contractor. As with all home building activities, sometimes the prices are too outrageous and we must take matters into our own hands. By picking and choosing which tasks to do yourself, the savings can be big on your owner builder projects. That being said, with a few simple tools and just an hour or two of your time you can create a high-end custom look to your bathroom. Let’s take a look at how we installed our frameless tub shower enclosure in our latest bath remodel. We’ve also included the video below if you prefer.
Tools & Materials Required for Tub Shower Enclosure Installation
- screw gun (a.k.a. cordless drill…or one with a cord if you prefer)
- tape measure
- drill bits: 1/8″ (titanium) & 5/16″ standard
- 4 foot level
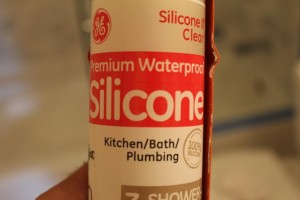
- 100% clear silicone (mildew resistant)
- caulk gun
- allen wrench provided with door kit
- pen/pencil to mark screw locations
- utility knife
- Dreamline Aqua Lux Tub Shower Enclosure Kit (link is at the bottom of page to Amazon for more info)
Step 1: Install Fixed Panel Wall Brackets
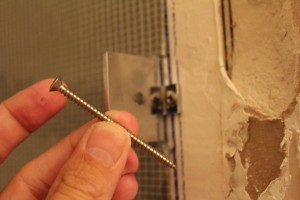
These are the two main supports for the tub shower enclosure at the wall. Because there are only two, you want to make sure the fasteners are anchored really well to the wall. The best way to do this is to find a stud in the wall to secure them to. We replaced the tile in our shower and when we had the drywall board down, we marked the stud locations. We then purchased three inch stainless screws to secure the brackets to the studs. If you aren’t replacing tile, you will want to use a stud finder to see if there are any studs around the fixed glass panel location. If not, you will need to use the drywall anchors provided (use the 5/16″ drill bit for the drywall anchors).
Mark the locations of the brackets where they attach to the fixed panel on the wall. Be sure to get the wall brackets in the proper location or you will have to go back and move them. This could create a problem if you drilled through tile or a fiberglass shower wall. Use your level to get them exactly plumb and centered over the tub or shower ledge. Secure the wall brackets into place making sure the screw hole on the brackets face the shower. Because our project was a complete shower remodel, we installed the brackets before tile (directly on top of the drywall) and then tiled up to them. This will provide a better connection. If you are installing in an existing bath, you may not have this luxury. So, be careful when drilling through the finished material, whether it be a fiberglass or tile surround.
Step 2: Install Support Bracket at Tub Ledge
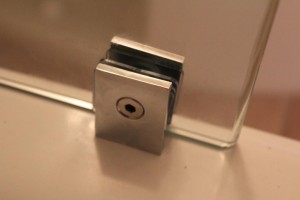
Have your friend hold the fixed panel for your tub shower enclosure in place while you mark the location of the future support bracket on the tub ledge (a.k.a. kneewall). Make sure the fixed panel is in the correct location…at the wall brackets and plumb, level and straight with the opening. Mark the spot where you will need to drill for the screw. If you have a cast iron tub like we did, you will need to use a titanium bit to get through this tough material. If you have a fiberglass tub, most standard drill bits will work. Carefully drill the hole and secure the bracket to the tub making sure the screw hole on the bracket faces the inside of the tub.
Step 3: Set Fixed Glass Panel
Now that you have the three major support brackets installed for the fixed panel of your tub shower enclosure, you can secure it into place. Have a friend hold the fixed panel in place while you use the allen wrench provided to secure the other side of the brackets to the glass. Be sure to always place the rubber gaskets provided between the glass and the metal brackets/hinges. These prevent the metal from cracking the tempered glass as they are tightened down. Secure the three brackets (two at wall and one at the tub ledge) to the glass. Use the screw covers provided with the tub shower enclosure kit to create a custom, finished look.
Step 4: Install Support Arm for Fixed Panel
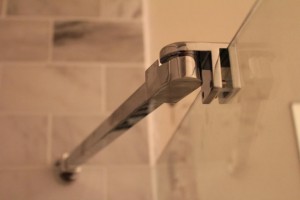
Set the top support arm in place and mark the location of the wall bracket at the wall. Again, we marked the location of the studs so we could secure the bracket with a three inch stainless screw to the wall stud. If you can’t find a stud in this location, you will need to use a drywall anchor. Apply silicone around the hole before installing the screw and bracket in place. This will prevent water from getting through the hole and into the wall cavity. Tighten the screw into the wall bracket. Now you can set the support arm for your tub shower enclosure in place and secure it with the allen wrench at both ends.
Step 5: Install the Door
First disassemble the hinges. Take the side of the hinge with the screw holes and set them into place in the fixed panel on the inside of the shower. Be sure to get a rubber gasket between the glass and metal. Now secure the other side of the hinge to the fixed panel of glass with the allen wrench and screws provided. Again, make sure no metal touches the glass (rubber gaskets should be in between). Now have your friend set the glass door on the hinges and hold it in place while you secure the hinges to the door from inside the shower. Make sure the door is level and straight before securing the hinges for the tub shower enclosure.
Step 6: Install Weatherstripping
The weatherstripping helps keep water inside y0ur tub shower enclosure. Cut the bottom door weatherstrip to fit with your utility knife and slide it onto the bottom edge of the door. Now cut the hinge side weatherstrip and slide them onto the door. Be careful when cutting these as they are an integral part of the watertight system. You want them to fit tightly between the hinges to prevent water from splashing out.
Step 7: Caulk Fixed Panel Into Place
The last step to your installation is to make certain the fixed glass panel of your tub shower enclosure is also watertight. The best way to do this is by using a high quality caulk (100% silicone that is mildew resistant) to seal the glass to the wall and tub ledge. If you are worried about making a mess, apply a piece of blue tape along the edge of the location to be caulked. Immediately after caulking, remove the tape. The tape will catch any of the caulk that gets out of hand. Too much spread on the silicone will make your shower installation look messy and amateur.
Sometimes it makes sense to hire professionals to install your tub shower enclosure. You will need to make that call based on your ability, time, and quotes from glass companies. We received bids that went all the way up to $2000 for this particular project. Rather than take a big hit in our budget, we decided to tackle the project ourselves.


This is a great article on how to install a frame-less shower door your self. Keep in mind that if the glass touches the tile there is a good chance you have ruined the glass so it is of utmost importance to protect the edges of the glass. Also measuring the opening accurately with all the out of plumbs and levels taken into consideration. On our website http://www.americanglassandmirror.com. We have some builder tips that will come in handy if you are construction an opening for a shower door. These tips will help you avoid costly “redos” or leaky showers