A floor squeak can be extremely frustrating. We’ve all experienced these sounds that occur when walking across a floor but most of us have just learned to live with them. The good news is there are some rather simple things that cause these squeaks and in many cases, the repairs are just as uncomplicated. Here we discuss the potential causes, explore a few repairs, and share some tips for prevention in your new building projects. Be sure to watch our newly published floor squeak video at ArmchairBuilder.com.
Floor Squeak Types
Not every floor squeak is the same. There are several different major types so let’s take a look at a few…
- Cold Air Return – Many cold air returns are created by using sheet metal to cover up a floor joist bay. When this method is used, it can create a noise as you walk over the area.
- Missed Nails – Nails through a subfloor sheet that miss the framing member below can rub the member causing a floor squeak as it flexes.
- Dried Glue – Many builders use adhesives to secure the subfloor sheathing to the floor framing members. If too much of the glue is spread on the framing members on a warm day and it dries prior to setting the subfloor sheathing, a floor squeak can occur.
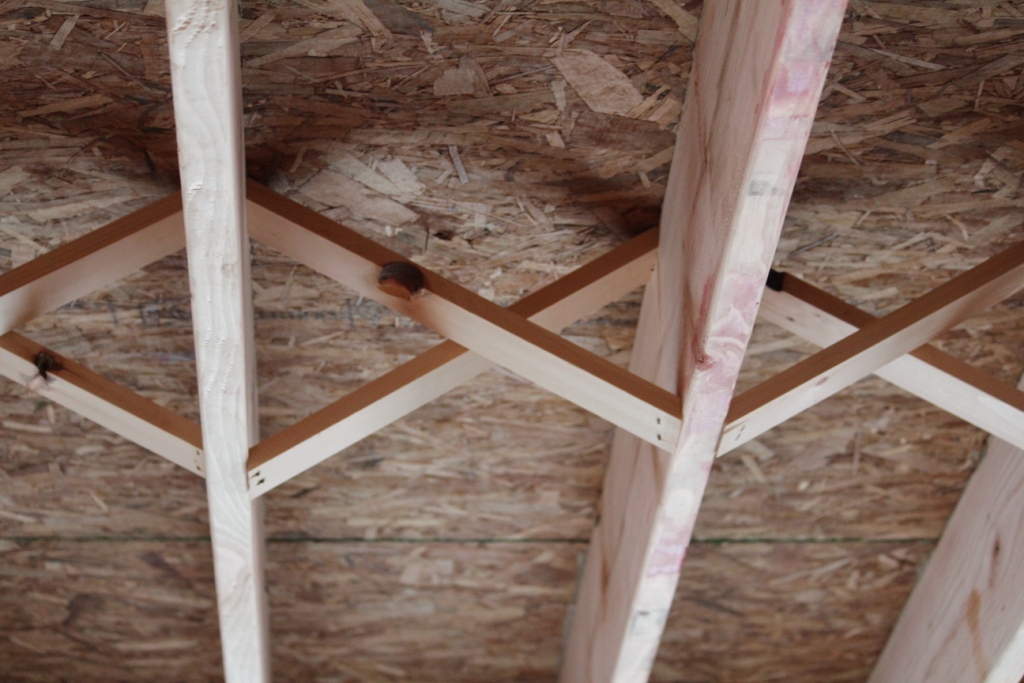
- Loose Bridging – Dimensional lumber (2×10 or 2×12’s) use bridging to keep them straight. If the bridging is loose, it can cause a floor squeak.
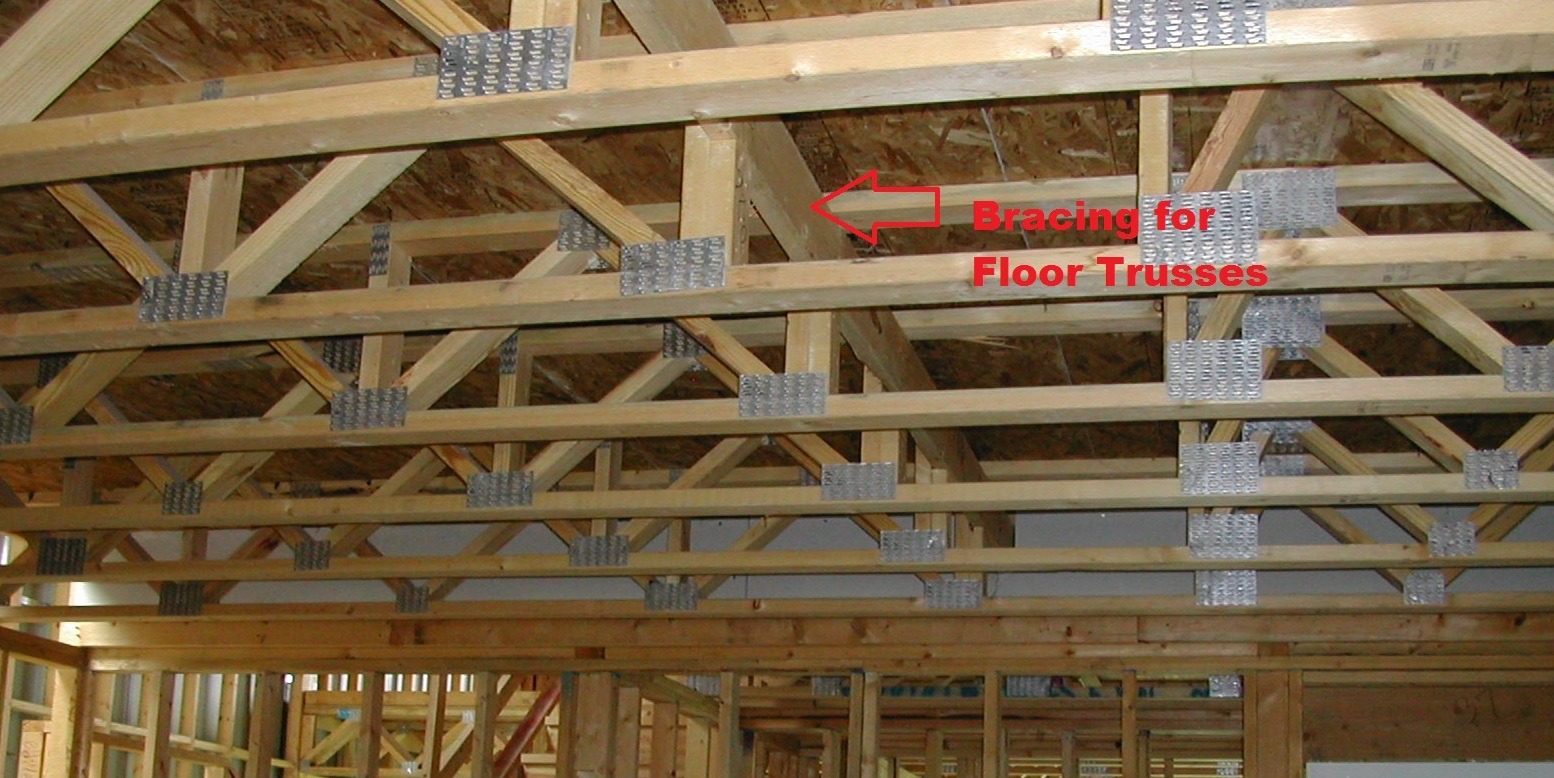
- Missing Bracing – Floor trusses use cross bracing to stiffen up the floor system. If the bracing is missing or loose, a floor squeak can occur.
- Wall stays put and floor flexes – When an interior wall runs perpendicular to the floor framing, it will sometimes stay in place as the floor flexes when a person walks across it. When this happens, the nails holding the base of the wall to the floor can rub on the subfloor causing a floor squeak.
- Ductwork – When ductwork is installed too close to the framing members, it will sometimes create a floor squeak as the floor framing deflects.
- Hardwood Flooring – Hardwood floor planks shrink and swell based on the homes humidity levels. This movement can create squeaks.
Repairs
Most floor squeak repairs are easy if you have access from the basement or crawl space below. If you don’t have access, each squeak will need to be evaluated on a case by case basis to come up with a repair. Here is a list of repairs that you can do when you do have access…
- Cold Air Return – Sometimes by placing a crease in the sheet metal, you will stiffen up the material so it no longer makes a sound when the floor moves. One of the easiest ways to do this is by tapping on the material with a hammer to create a dimple. If all else fails, replace the sheet metal with a cardboard panning (see your local hardware store for options)
- Missed nails or bad adhesive – This is one of the most popular causes of floor squeaks in homes. Check our our new floor squeak video for step-by-step instructions for repair.
- Loose Bridging – This one is simple…tighten the bridging by adding nails.
- Missing Bracing – Without a design for the floor system, it can be tough to determine where bracing is supposed to go. You typically can’t go wrong if you add 2×4 bracing mid span, nailing each truss to the 2×4 brace. This will help stiffen up your floor.
- Interior wall perpendicular to flexing floor – One way to tie the subfloor to the base plate of a wall is to…1) Remove the base molding, 2) Drive screws down through the base plate and into the subfloor to hold them together 3) Reinstall the base molding. Although this doesn’t always work, it can be effective in some cases.
- Ductwork – Adjust ductwork so there is a minimum clearance of one inch between it and the wood framing.
- Hardwood Floor – One old remedy for minimizing a floor squeak in a hardwood floor is to drop some baby powder down between the two boards. Although not a very scientific repair, it can be rather effective.
There are some things you don’t want to do when attempting to repair a floor squeak. Never, never, never use shims between the floor framing member (i.e. 2×10 or I-joist) and the subfloor panel (i.e. plywood or OSB) as this can create more problems. By driving a shim between the joist and the plywood subfloor, you might loosen up some of the glue and nails creating even more squeaks.
Floor Squeak Prevention
One of the key players for preventing floor squeaks is your rough carpenter. Make sure you let them know you are very interested in prevention. Here are some things you will want to include in their Scopes of Work and Specifications.
- Glue – Use glue to secure all subfloor sheathing and only apply enough glue for one panel at a time.
- Nails – Use only ring shank nails or screws to secure the subfloor sheathing to the framing members.
- Remove all missed nails at joists.
- Walk all floors prior to frame inspection and repair any squeaks.
- Leave space between plywood or OSB panels per the manufacturer’s direction.
- Check all bridging and bracing is secure at the frame punchlist
The design of your flooring framing can also impact the amount of noise you get when walked on. Creating a stiffer floor will prevent excess movement which can lead to squeaks. Have your architect design the 2×10 (or 2×12) floor framing to the higher standard of L/480 deflection criteria. This will minimize the deflection when you walk across the floor.
You may also want to consider using manufactured floor framing members such as I-joists or floor trusses. These can span greater distances, provide a wider flange for nailing, and provide greater access for mechanical systems.>


