Insulating Your Home
0 Comments | Posted by armchairbuilder in Build Your Own Home, Owner-Builder, Quality Check
How to Build a Home, Step 39
We start insulating your home once all of the rough mechanicals and draft stopping are completed. Since this is the last activity prior to closing up the walls with drywall, it’s extremely important to get things right here. There are some very critical items to review prior to insulating your home. Let’s take a look to see how a professional builder ensures quality at this stage.
Inspections Approved
Before insulating your home, we need to make sure all appropriate municipal inspections have been completed and approved. Each local building department is a little different, but since I have built in many different locations, I can give you the most common here. In many cases, there will be a permit card you place in the home (usually in a conspicuous location) where the building inspectors place approval stickers. Some building departments prefer to place stickers on the door of the main electrical panel. Check with the local inspector to learn about their particular procedures.
- Rough Plumbing – They check to make sure the drain, vent and supply plumbing systems were installed per code. In some cases, the local inspector will require the plumbing to be pressure tested. This includes putting air into the supply lines with a pressure gauge on a pipe showing that all joints are tight. The drain lines may also be tested. If the local building department doesn’t require this, it’s a good idea to include it in your Scopes of Work and Specifications for plumbing. Calling in the rough plumbing inspection is the responsibility of the plumber.
- Rough HVAC – The inspector reviews the ductwork and vent installations to ensure compliance with local codes.
- Rough Electrical – Includes the review of the complete wiring rough-in and if you haven’t gotten one previously, an inspection of the main service panel. In most locations, these are two separate inspections…but they can be reviewed at the same time.
- Rough Building Inspection – Before insulating your home, the rough building inspection needs to be approved. This inspection is typically called in by the owner builder (or builder if you are going with a full service general contractor). Most building departments require the plumbing, HVAC, and electrical rough inspections to be completed and approved before calling in the rough building inspection. The rough building inspection covers the structural framing and many other general checks to make sure the home is compliant before the walls are covered with insulation and drywall.
Frame Quality Check
Before calling in your rough building inspection and insulating your home, you will want to do one last frame quality check. We talked about some of the key structural items to review back in step 33, Framing a Home. At this stage, we want to make sure no damage has been done by the mechanical trades that would affect the structure. And if you do find problems, you want to correct them prior to calling in the rough building inspection and insulating your home. Here are a few key items to look for at this stage.
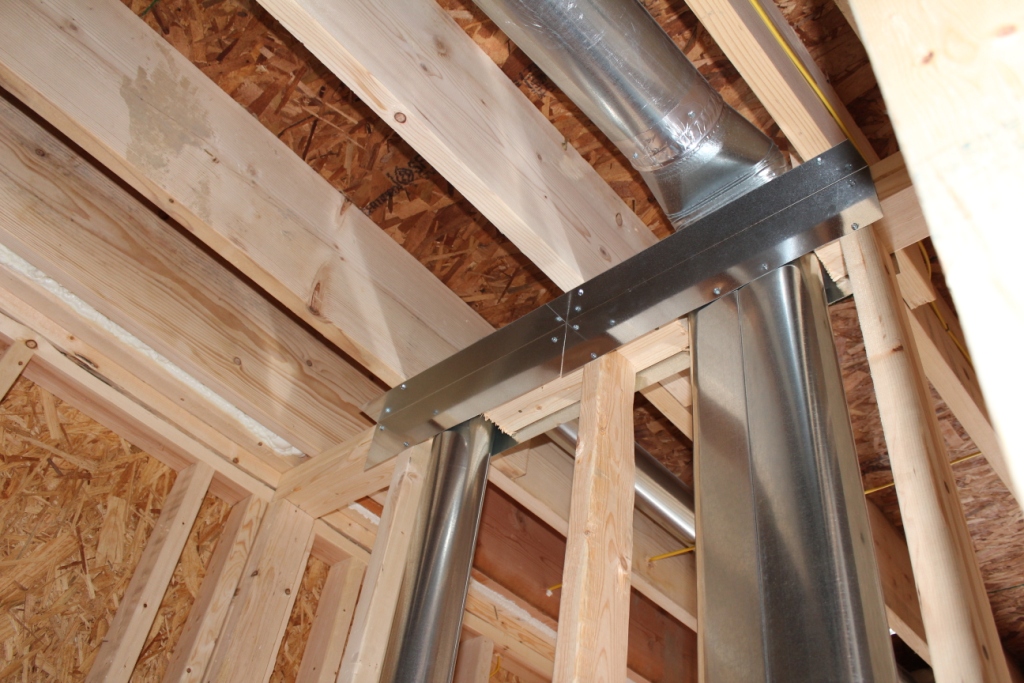
- Walls at Ductwork & Drains – When your trade contractors cut through the top and bottom plates in a wall to run pipes or ductwork, it can affect the structural integrity of the wall. It’s the responsibility of the trade to put the wall back so it is solid. Be sure to push and pull on each wall at these locations to make sure they are still in tact.
- Beams/Trusses – Beams and trusses should never be drilled, notched, or cut in any way. If you find any of these, you will need to consult the truss or beam supplier for a repair detail. Here’s an article we published on roof truss repairs.
- Floor Joist Bearing – We talked about how the mechanical trade contractors cut walls to get ductwork and plumbing installed. For all load bearing walls, you will want to check and make sure each floor joist has support below. You don’t want any top plates in a wall to be free floating under a floor joist above it. If necessary, have your carpenter add a stud underneath for support.
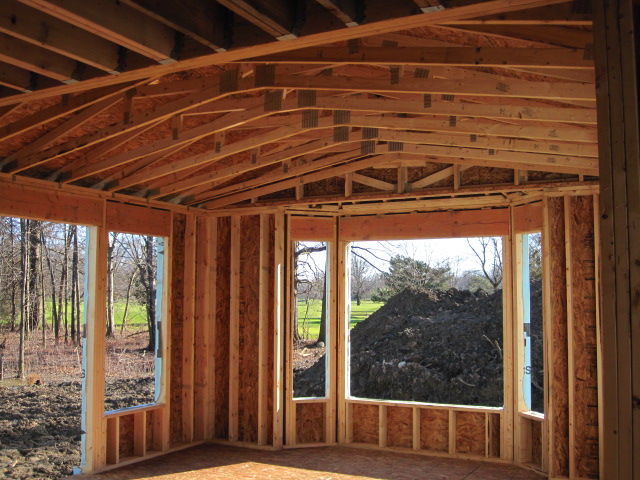
- Weather Tight – Because many types of insulation can be damaged by moisture, it’s important to check the shell of the home to make sure rain cannot get inside. Check all housewrap is installed properly and taped at the joints and verify all roof vents are flashed. All windows and exterior doors should be installed before insulating your home. This will allow the insulation contractor to insulate properly around them.
This is by no means a complete list of quality items to review. There are literally hundreds of items to quality items to review at this stage. I typically spend several hours in the home at this point going over all the details. Be sure to go through the frame quality check listed in The Builder’s Daily Construction Guide to ensure everything is ready before insulating your home. If you are building your own home, have your builder consultant or architect review the quality before insulation and drywall. If you are going with a full service builder, now is a good time to have your home inspector perform a thorough review of the quality. This is your last chance to look behind the curtain…before everything gets covered up.
Insulating Your Home
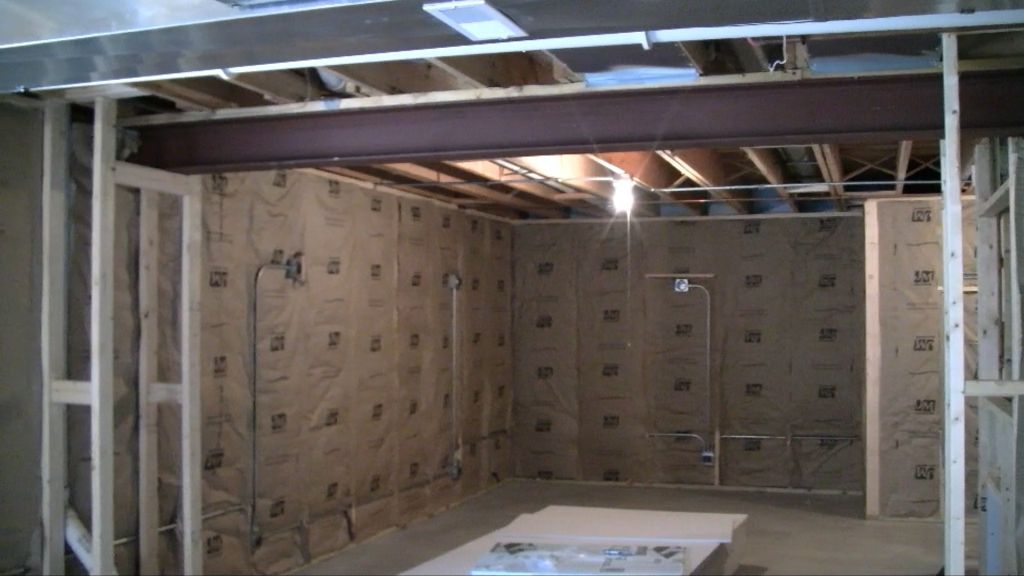
When it comes to insulating your home, the schedule and quality checks will vary slightly depending on the type of insulation you choose. If you go with the traditional fiberglass batts, your installation will be completed in a day for the average American home. Of course, this is if you use a competent company to do the install. Some of the quality items you will want to check in your fiberglass batt installation include…
- Compressed – Look for any insulation that is compressed…compressing the material takes away the R-value. Most insulation works by having tiny air pockets…compression takes these away.
- Gaps – Make sure there are no gaps – each batt of insulation should span the entire stud cavity.
- Cantilever – These are sometimes overlooked by insulation contractors. Because they are typically hard to get to, they can easily be forgotten.
- Windows and Doors – All sides should be insulated…this is sometimes called chinking – when fiberglass insulation is stuffed between the window/door and the rough opening. If the space is too small, a high quality caulk should be used.
- Ceiling insulation – If you are going with a blown-in ceiling insulation, you will typically wait until the drywall has been installed to insulate the flat areas. Any vaulted ceilings will typically have batts installed prior to drywall.
- Rim – The rim is the outside band of framing that covers up the ends of your floor joists. The entire rim perimeter area (also called band joist) needs to be insulated. Be sure to check all locations…even the tight spaces to make sure the insulation contractor installed insulation.
- Inspection – Most local building departments require an insulation inspection before drywall can be installed. Be sure to check to determine if one is required. The owner builder is responsible for calling in any insulation inspections required. One other builder tip…it’s a good idea to have a representative at the home for each inspection. Whether it’s an insulation inspection or a rough building, inspector comments will be much easier to understand in person. The alternative is to read the notes left by the inspector. Poor handwriting can make a difficult communication even harder to understand.
Make Future Repairs Easier
It’s a good idea to mark your plan with the exact locations of all plumbing and ductwork. This is sometimes called an as-built. Yes, the plans may already show the locations but actual installation locations change due to framing variations. So grab a pen and a tape measure and make notes on your plan for the exact locations of drain pipes, water supply lines, supply ducts, and cold air returns. This will help you locate leaks or problems in the future. It can also help you with future remodeling projects. If you know exactly what is in a wall, planning is easier. You may also want to take a video or picture of each wall and label each one accordingly.
For more details on insulating your home with quality fiberglass batts, check out our Insulation & Basement Finishing video below.


