How to Build a Home, Step 40
Once the wall insulation is complete, we’re ready for wallboard installation and drywall finish. This is step 40 in our How to Build a Home series of articles. Most people live with drywall on a daily basis but may not know what constitutes a quality installation. How long should it take to install and how do you make sure your trade contractor gets it right? Let’s take a look at the schedule and quality check for a new home.
Hang and Drywall Finish Schedule
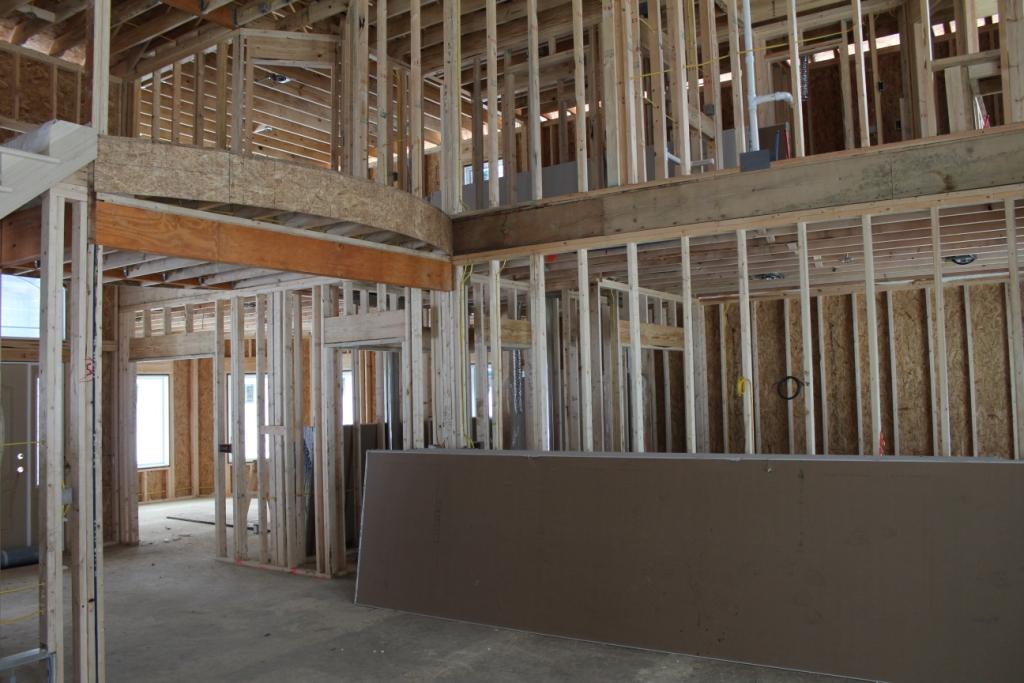
Inspection: It’s important to make sure the insulation has been inspected prior to drywall. Not all municipalities have an insulation inspection, but make sure you have one if it’s required. Covering up the wall before approval can be a very costly mistake. If you don’t want to lose time waiting for your inspector, it’s possible to stock the drywall board in the home so that it leans up against interior, non-insulated walls. Just make sure they don’ cover up any insulated walls…you may end up moving a bunch of drywall board.
Driveway: If you’ve every lifted a piece of drywall board, you know how heavy it can be. Now picture a huge truck with a whole house full of drywall board on it. Any idea how much it weighs? Let’s just say it can easily destroy a new driveway. For this reason, be sure to schedule your new driveway installation after the drywall delivery. We have placed the driveway installation at the end of the Armchair Builder New Home Schedule to prevent delivery damage. If you are building an addition or finishing a basement, have the delivery company use a fork lift to set the drywall…and don’t let them get on the driveway! One other thing to think about, don’t let this truck drive over anything buried in a shallow trench. Pipes for sprinkler systems, septic fields can easily be crushed by the weight of a drywall delivery truck.
Stock: Loading the actual drywall board into the home can be tricky. Drywall board (sometimes called Sheetrock which is a brand of drywall board…similar to calling your bandages Band-aids) is typically loaded into a new home with a boom truck. The boom is basically an arm that lifts pieces of drywall up to the front of the home where it is physically pulled off and set into the home. Most new homes have a “drywall stock window” on the second floor of the front elevation to allow the drywall board to be pulled through. The stock window easily comes apart without removing siding or the window frame. This saves a lot of time and backbreaking work carrying heavy sheets up the stairs. Owner builders will want to confirm the drywall stock window location with the window supplier and installer. A qualified drywall board supplier will already know this but for your information, the drywall board needs to be distributed evenly throughout the home when you have a framed floor system. In addition, the weight needs to be evenly distributed perpendicular to the floor framing members.
Here’s a true job site story: I had a home stocked with drywall and the rough carpenters came back to make a repair. They moved the drywall board to get to the repair area and unfortunately, they placed a huge pile of board in the center of a framed floor. The pile was so big that it actually fell through the floor framing causing major damage to the structure. Luckily, nobody was hurt.
Hanging Board: The installation of the wall board typically takes about a day for an experienced crew in an average sized home. You will want to include a note in your scopes of work and specifications as an owner builder for the drywall board scrap and cleanup. This is a big job, one that allows you to save money by doing yourself. You will want to know if the drywall company has included this in their bid so you are comparing apples-to-apples. You don’t want to hire the company with the lowest price and later find out they didn’t include clean out and removal of the scraps from the job site. Here’s a shameless plug…check out our bid sheetsto help make sure you don’t leave out items from bids.
Drywall Finish: For an experienced crew with the proper tools, the typical new home drywall finish takes about a week. Keep in mind, weather conditions play a part in how fast the drywall joint compound dries. High humidity levels can make for slow dry times.
Cold Weather Drywall Finish
It’s best to hang the ceiling first, especially in cold climates. As soon as the ceiling is hung, the drywall can be sealed at all penetrations and insulated (if you are using blown insulation). This will allow the drywall finish joint compound to dry more quickly. In extremely cold weather, joint compound can actually freeze if you don’t have the ceiling insulated (along with heat).
It’s also extremely important to have heat in the home to speed up the drywall finish. The joint compound will take longer to dry in cold conditions. Temporary heat is best…if the furnace is installed, it can get lots of dust inside of it. If you do choose to run the furnace, be sure to turn it off when sanding takes place.
Ceiling Corner Cracking
Drywall cracking and nail/screw pops are normal in a newly built home. As the lumber dries out, it shrinks causing stresses in the drywall board and pushes nails and screws out. Corner bead can also pop as the wood behind it shrinks. It’s wise to wait at least a year before tackling these repairs…to have the home go through 4 seasons prior to doing an drywall repairs on anew home. If you do the repairs too soon, you will probably end up going through several iterations of repairs.
On ceilings with roof trusses above, repeated cracking at interior walls can be common. This is called truss uplift. Truss uplift occurs when the manufactured roof truss in the attic is subjected to differing humidity and temperature levels. The lower part of the truss where the ceiling drywall is attached can have less humidity and be warmer than the upper portion of the truss up in the cold attic above. This causes the bottom cord of the truss (the part the ceiling drywall is attached to) to rise slightly along the span. The upward movement causes ceiling angles to crack. There is nothing structurally wrong with this, it just doesn’t look good. The best way to keep the cracking to a minimum is to refrain from nailing the ceiling drywall within 16 inches of an interior wall. This way, as the truss moves up slightly, the drywall board flexes and stays attached to the top of the wall which helps prevent cracking. One other option is to use truss/drywall clips which serve the same purpose.
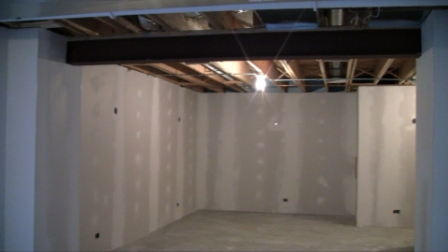
Check out our Drywall Quality Check video from a finished basement project below to see what’s important to look for in a job well done.


