How to Build a Home, Step 50
Carpet installation is the next step in our blog series, “How to Build a Home”. Although it may seem like a simple process, there are some builder secrets for avoiding problems and saving money. Do you know what a seam layout is? How about subfloor preparation? Let’s take a look at some builder tips for getting a higher quality installation.
Preparation for Carpet Installation
It’s extremely important to get your subfloor prepped properly to avoid problems. Without preparation, potential problems include…
- Ridges in subfloor showing through carpet and pad
- Screws & nails popping up through the carpet
- Floor squeaks
So in order to prevent these issues, here are the proper steps to take before carpet installation.
- Review all wood subfloor areas for loose nails or screws. As the wood dries out, the fasteners will sometimes back out. Once the padding and carpet goes down, it will be tough to get to these.
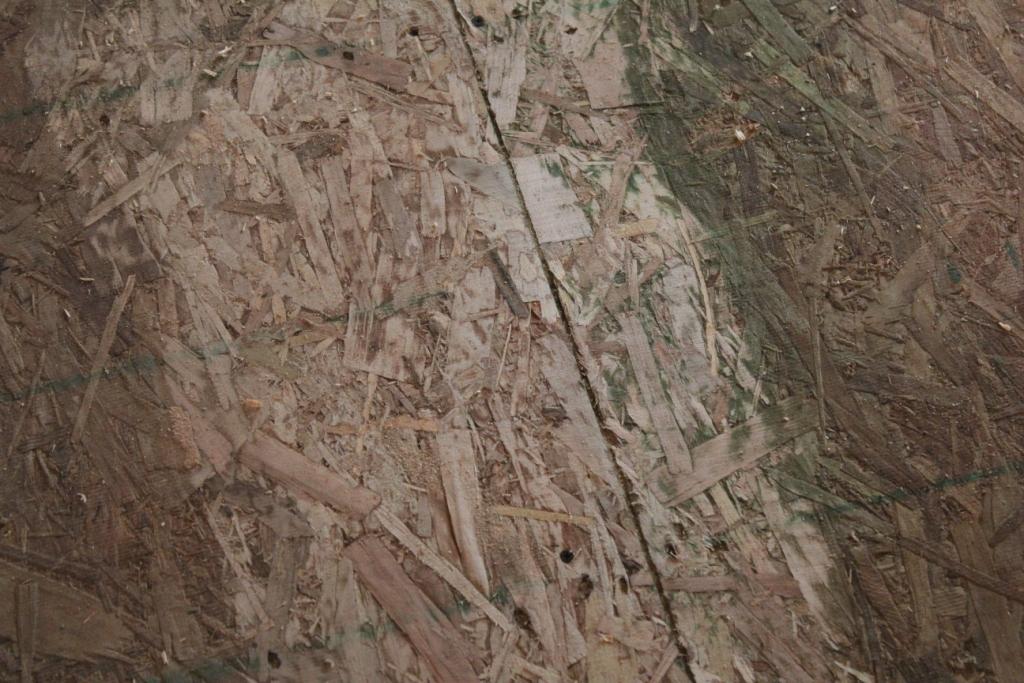
- Sand Floor Seams: If you have an OSB (oriented strand board) subfloor, be sure to sand the seams down prior to laying carpet and pad. These wood-like panels swell when they get wet which can lead to ridges where the panels butt together. Sanding them smooth will keep you from feeling the seams through the carpet and pad.
- Walk the entire framed floor areas checking for any floor squeaks or pops. Now’s the time to fix these prior to covering them up.
- Repair any holes in the subfloor
- Sweep or vacuum up all debris
Seam Diagram
It’s important to confirm all seam locations when discussing costs with potential carpet installation companies. You don’t want to be surprised by a seam that runs directly through a high traffic room. So be sure to request a seam diagram showing where the installer plans to put each seam. Depending on the type and roll size of the carpet you use, you may be able to move a seam so it will be less noticeable. I say less noticeable, because all seams are noticeable. However, a quality installation will keep them from standing out.
Ideally, you will place all seams so they are located outside of high foot traffic areas and even better, hidden by large pieces of furniture like couches or beds.
Quality Check
It’s important to include specific quality requirements in your scopes of work and specifications for carpet installation. Here are some items you may want to include…
- All padding joints shall be taped
- Carpet seams are to be trimmed and rolled (helps make them less noticeable)
- Installer is responsible for any objects trapped under the carpet. So if trimmings, tack strip nails or something else gets under the carpet, they will be responsible.
- Doors are to be returned to their correct locations after installation. All interior door slabs that are removed for carpet installation need to be labeled and returned to the exact door frame they came from. Otherwise, they may have operational problems.
- Damage to walls, trim or other finished surfaces will be the responsibility of the installer.
- Flooring transitions of the appropriate finish as noted in the specifications are to be installed at the completion of the carpet installation.
- All carpet installation shall be completed with tack strips, no glue.
- Leftover material: All carpet remnant pieces larger than 30″x30″ shall be left in the home for future repairs.
- Appropriately sized cutouts should be made for all floor registers.
- All seams shall be per the diagrams approved by the owner.
These simple tips should help you get a quality carpet installation that will last. If you would like more details about installing carpet in your finished basement, check out this video…Carpet Quality Check.


