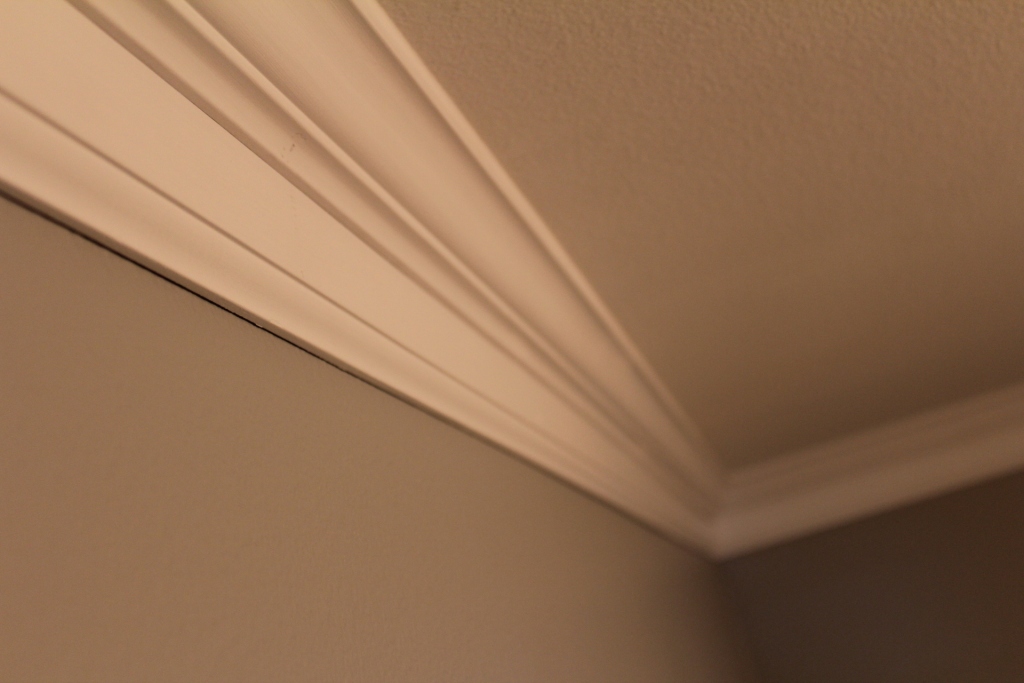
 Today we are going to share with you a couple of great trim ideas for your new bath remodel. We’ve been talking about how to update your bath without spending a ton of money. Here we will share with you an inexpensive way to combine two low cost pieces of trim, to make a custom focal point in your new bath.
Crown molding has long been a great way to add a custom look to any space. The only problem with crown is the labor costs have traditionally been high because of the skill required for installation. Add to this the relatively high cost for the larger, more custom pieces, and you have an expensive project on your hands. But what if there was a way to add the look of a large crown molding without using the big stuff?
Today we are going to share with you a builder secret that is used to make a smaller piece of crown molding look big by combining two inexpensive pieces of material. First, we purchase a standard 3″ tall colonial base which is rather easy to come by and is VERY inexpensive. You can use a low cost, pre-primed pine product since it will be located up near the ceiling with little chance of being banged into. If we were installing it as a base molding, we would use something harder like a poplar. This 3″ tall colonial base can be found as inexpensively as $.40 per foot.
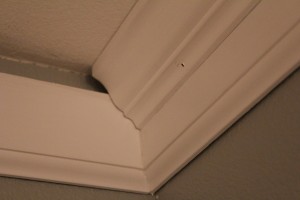
We install the colonial base upside down, 1″ down from the ceiling. The 1″ dimension really is a matter of preference…use what looks best with your crown molding and ceiling height. Our crown molding of choice is a 2-3/4″ wide pre-primed pine. Remember, you are combining the two pieces of material so you can save some money and make the installation easier. When you have big, wide crown molding, the cuts are more difficult to make. For those of you who have experience installing moldings, the smaller crown can be bevel cut by resting it up against the fence on your mitre saw. And if you make a mistake on a cut with the small stuff, you won’t feel it as much in your wallet.
Now we install the crown on top of the inverted base and tight to the ceiling. By combining the two small pieces of trim, we create the illusion of a bigger piece of material. We create a more massive, eye catching detail for your new bathroom at a bargain basement price. Here is the price breakdown…
- 3″ Colonial Base, Pre-Primed Pine: $.40 per lineal foot…$10.40 for our 8’x5′ bathroom
- 2-3/4″ Crown Molding, Pre-Primed Pine: $1.00 per lineal foot…$$26 for our bathroom
- Semi-gloss paint, a quart: $10
- Labor: Because we used the two small pieces, a dedicated DIY’er can do this project: $0. If decide this isn’t a project you would want to tackle, expect to pay a trim carpenter approximately $250 for the job.
- Total Cost with Your Labor = $36.40
Here are a few builder tips to make the job go as smoothly as possible…
- Paint the trim first before installing…then just touch up what you need to after installation.
- Paint your ceiling before install. This will eliminate the need to cut-in later.
- Cope cut the inside corners for a better fit. (of the crown and the inverted base molding). This will keep your joints tight even if your drywall corners aren’t a perfect 90 degree angle.
- Use a high strength, quick set glue on your trim and use just enough nails to hold the material in place until it sets up. This will provide the best, long term installation.
- Take your time on the last piece of trim…you will have two cope cuts to make. Be sure to measure two or three times before you start cutting.
- Carefully caulk all of your joints and touch-up as needed.
1 Comment for Trim Ideas for Your Bath Remodel
Edinburg Homes for Sale | February 21, 2012 at 4:59 am


superb post! Keep up the excellent work!