Tile Backer Board Installation: Shower Remodel Video Series
0 Comments | Posted by armchairbuilder in Bath Remodel
Tile backer board installation really isn’t all that difficult. With a few simple tools and a couple hours of your time, you can install new cement board for your new shower wall tile project. Let’s take a look at some of the things you will need for installation and talk about a few critical quality checks.
Why Cement Backer Board?
Cement backer board is great around tubs and showers because when it gets wet, it won’t…
- delaminate or warp (like plywood or OSB)
- soften or disintegrate (like drywall will…even the moisture coated drywall will disintegrate if it gets wet repeatedly)
- warp
..
Purchasing Tile Backer Board
Be sure you get the right thickness of board for your project. You may need two different thicknesses for your project, 1/2 and 5/8 inch. You want the board to be the same thickness as the adjacent drywall board for a smooth transition from wall to tile. Places where you might encounter 5/8″ drywall include…
- wall studs at 24 inches on center (the thicker wall board helps span the greater distance)
- garage common walls (for greater fire protection)
- townhomes or condos at common walls (again, for greater fire protection)
..
Tile Backer Board Installation
The tools required for tile backer board installation include: utility knife, straight edge (level or T-square), screw gun/drill driver with phillips bit, tape measure, marker, dust mask, mesh tape and float. You can use electric tools to cut the backer board but if you do, be sure to use personal protective breathing equipment. The silica dust created when cutting can cause lung cancer.
Cutting. Similar to cutting drywall, you score the face of the backer board with your utility knife and then snap along the cut line. Then use your utility knife to cut through the reinforcing mesh on the backside. When measuring to cut, be sure you figure the tapered edges on adjacent pieces to face each other to create a smooth, flat joint.
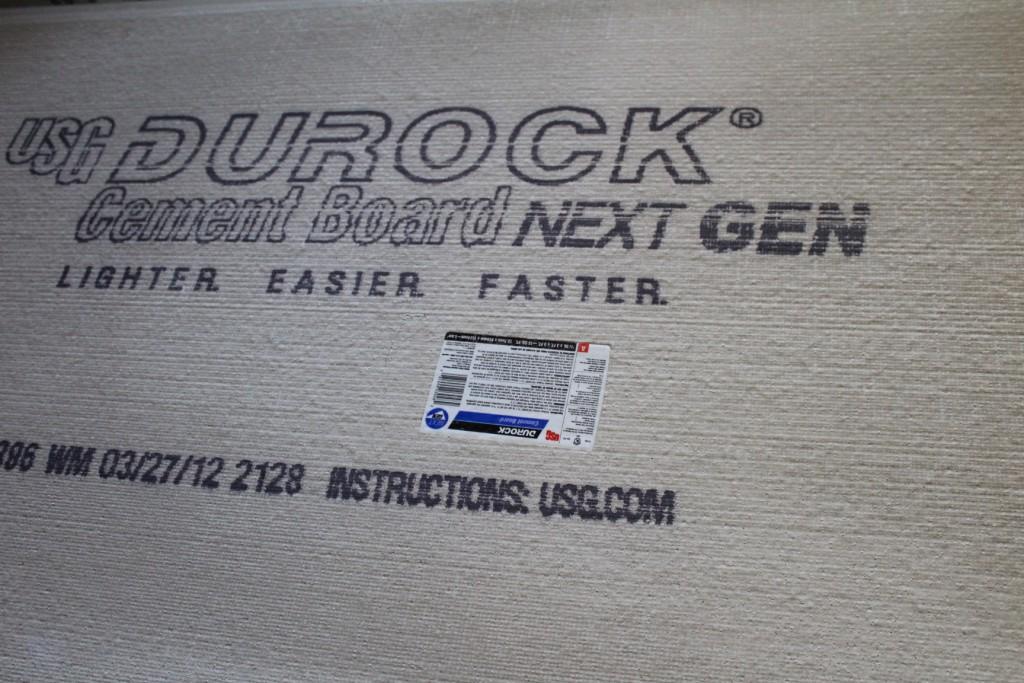
Fastening. Some of you have sent in tile backer board installation questions. One of those was…which side of the backer board faces out? When looking at the board, the side that faces out is the one with the tapered edges. In our case, this was the side with the Durock writing on it.
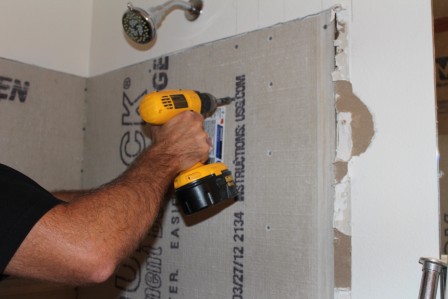
For installation over wood studs, your fasteners should be spaced at a maximum of 8 inches apart. This will help ensure you get a good solid connection to the framing behind to support the weight of your tiles. You will want to use special screws for installing cement backer board that are made of anti-corrosive materials. These are typically 1.25 inches long and go through the board without drilling pilot holes.
With any tile backer board installation, be sure to snug the edges of the board up to each other. However, do not force them into place as the edges will break and crumble. And for the installation at the tub deck or shower pan, leave a 1/4 inch gap. This gap between the board and the the wet surface is required by most manufacturers.
Level Joints. Now you apply some thinset mortar to the joints with your float and press the mesh tape into it. You can then place a thin coating of mortar over top of the tape and level it off.
If you follow these techniques for tile back board installation, you will end up with a solid backing to support your new tile that will last for years. Don’t forget to follow all of the manufacturer recommendations for the product that you decide to use. Check out our new video at our main site for more detailed installation instructions.
Have you ever thought about building your own home? Be sure to stop by the Armchair Builder How to Build Your Own Home resource page.
Other tile resources you might be interested in…
Glass Subway Tile Backsplash Installation video
Glass Tile Art Niche video
Tile Underlayment Options Article
Tile Installation Article
Free Glass Tile Backsplash Installation Guide


