Tile Installation with Bondera Tile Mat Set.
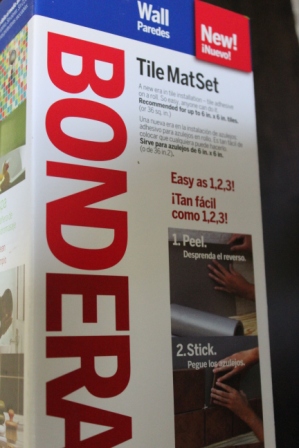
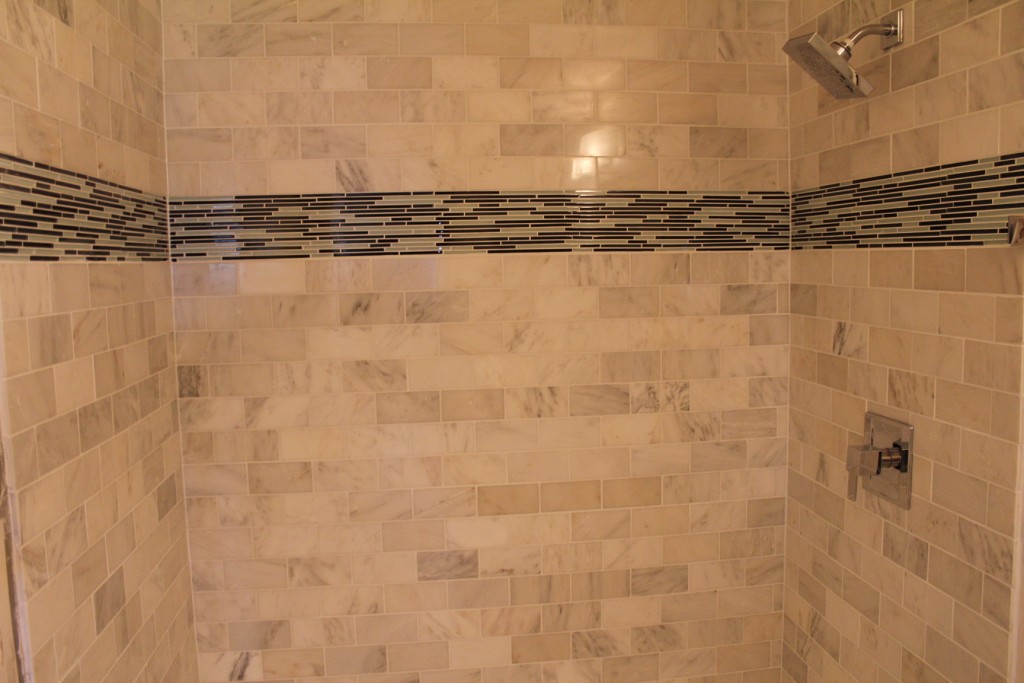
Tile installation can be a messy project. When using traditional thin set mortar, mixing and cleanup can add time and frustration. What if you had an alternative to using mortar for adhering your new tile? There is a relatively new product called Bondera that comes in sheets and takes the place of traditional thin set mortar. Let’s take a look at how we used Bondera on our new shower project.
Preparation
For any shower tile installation, be sure to install cement backer board as the substrate. This will give you a smooth, solid, moisture resistant backing to support your tile for years to come. The makers of Bondera recommend you install their four inch vertical strips in the corners prior to installing the twelve inch horizontal strips. Be sure the wall surface is dust free prior to installing the Bondera. You might want to use a damp rag to wipe down the walls prior to installing but make sure the walls are dry as the sheets go up.
Cutting Bondera
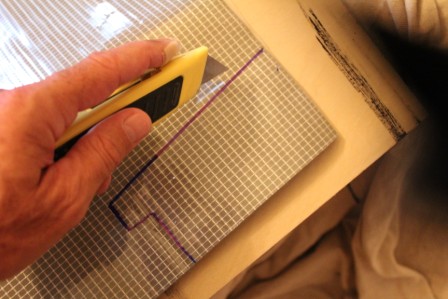
To cut the Bondera sheets, you can use either scissors or a utility knife. We started off our project using scissors with a cooking oil on the blades to prevent the glue from sticking to them. We ended up using just the utility knife as it seemed to be easier to use…for us anyway. Be sure to leave the protective coatings on the Bondera sheets until just before installing on the wall. The material is extremely sticky so you don’t want it to stick to itself or other objects while getting it ready to go up on the wall.
Placing Bondera on Wall
It’s good to hold your newly cut piece up against the wall prior to removing the protective backing to make sure your cuts are right on. Then you can pull the top inch or two of protective backing off the Bondera sheet and set it into place using a level to get it just right. It’s important to get the first piece level as all others will follow. You don’t want the sheets to overlap…but you do want them to be tight at the seams. After getting the top couple inches of the sheet pressed firmly into place, pull a little more of the backing off and press the sheet into place. Continue with this until the whole sheet is adhered to the wall.
As you apply the Bondera sheets to the walls, you want to eliminate any wrinkles. The wrinkles will negatively effect the tile placement. If you experience any wrinkles in the sheets as they are applied, you will need to cut them out with a utility knife and then apply seam tape over the cutout.
Work you way up the wall placing each 12″ tall sheet of Bondera on the wall. Be sure to leave the front side protective coating on until you are ready to install the seam tape and tile. This will keep dust and debris off which can negatively affect tile adhesion.
Setting Tiles
You start tile installation by setting them at the bottom and working your way up. Per the manufacturer, the bottom row of tile needs to be supported at the bottom edge. Each tile is set in place and pressed against the wall for five seconds for proper adhesion. Spacers are used to get the consistent grout lines and to support each tile. For each tile installation, be sure to get it exactly where you want prior to pressing up against the Bondera. Once the tile is adhered to the sheet, it is very difficult to move. If it does get pressed into the sheet and it needs to be adjusted, it’s best to pull it back off and reapply. This is accomplished with a putty knife and a wood block to pry against.
Once your tile installation gets to within two inches of the Bondera sheet above, you need to remove the protective coating and apply the seam tape (seam tape is only needed in wet locations). The seam tape makes the product water tight.
Grouting
At the end of each day of tiling, you need to grout the tiles that have been set. This is a requirement per the manufacturer for wall tile installation.
Tile Installation Video
For more details and our complete review of the Bondera product, check out our new video, Tile Installation Without Thin Set Mortar.


