How to Build a Home, Step 37
The electrical rough-in for your new home comes after the plumbing and ductwork are installed. Wiring can easily be run around these items…but not the other way around. Here we will show you the major items to review to make sure your electrician did a quality job. If you make sure everything was done correctly at the electrical rough-in stage, you will avoid the hassle of fishing wires and cutting brand new drywall later on.
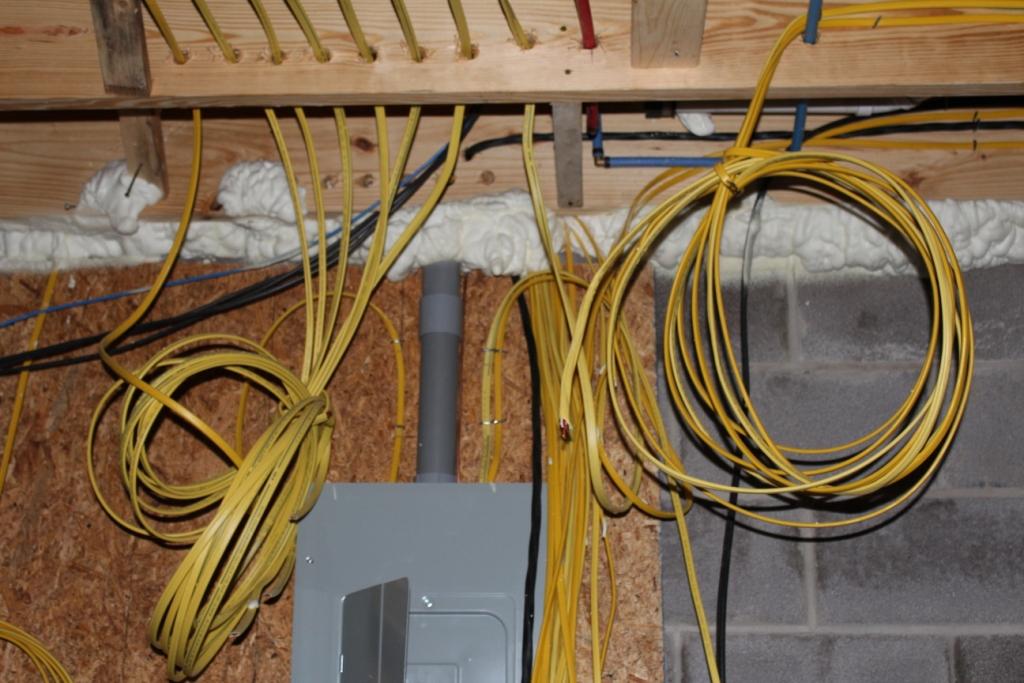
Service Panel
There is some debate among professional builders as to when the main electrical service panel (the box where the circuit breakers are located) should be installed. Some believe the panel should be installed at the electrical rough-in. Ideally, it should go in as soon as feasibly possible. The panel needs to be inspected and approved by the local building department. Once you have the approval, the electric company can be contacted to get on their schedule for connection to the grid. Depending on the efficiency of your local utility company, this could take days or months. So it’s good to get on their schedule as soon as possible.
Why do you need electric to the main panel if you don’t have any wiring installed yet? If you have your electrician install a GFI outlet below the main panel, you will have power to run compressors, lighting, tools,…etc. while the house is being built. Most of your trades will have generators, but this can save you money if/when power is needed for pumps, lighting…etc. So for homes with a basement, have your electrician set the panel just after backfill of the foundation (check with the local building department on this first). The electrician will need to weatherproof the panel with plastic/visqueen to keep moisture out until the roof goes on.
Make sure you let your electrician know the basement panel needs to be in an inconspicuous location…just in case you or the future owners want to finish the basement space. You probably have the location marked on your house plan but this isn’t always going to work. The panel location is sometimes dictated by the utility company’s transformer. In newer developments where the wiring is buried underground, the transformers are placed on the lot lines. You typically want the panel to be on the same side of the home as the transformer. This shortens the service lateral length and the side location makes for easy meter reading (if the backyard is fenced in).
Low Voltage
It’s common for the electrician to also install the low voltage wiring in the home. We include in this group things like undercabinet lighting, door bells, T.V. cable, phone, and sometimes the thermostat wire (make sure this is in your scopes of work and specifications for either the HVAC or electrical contractor). It’s also common to install any sound/speaker wire and security at this time.
Easy Additions
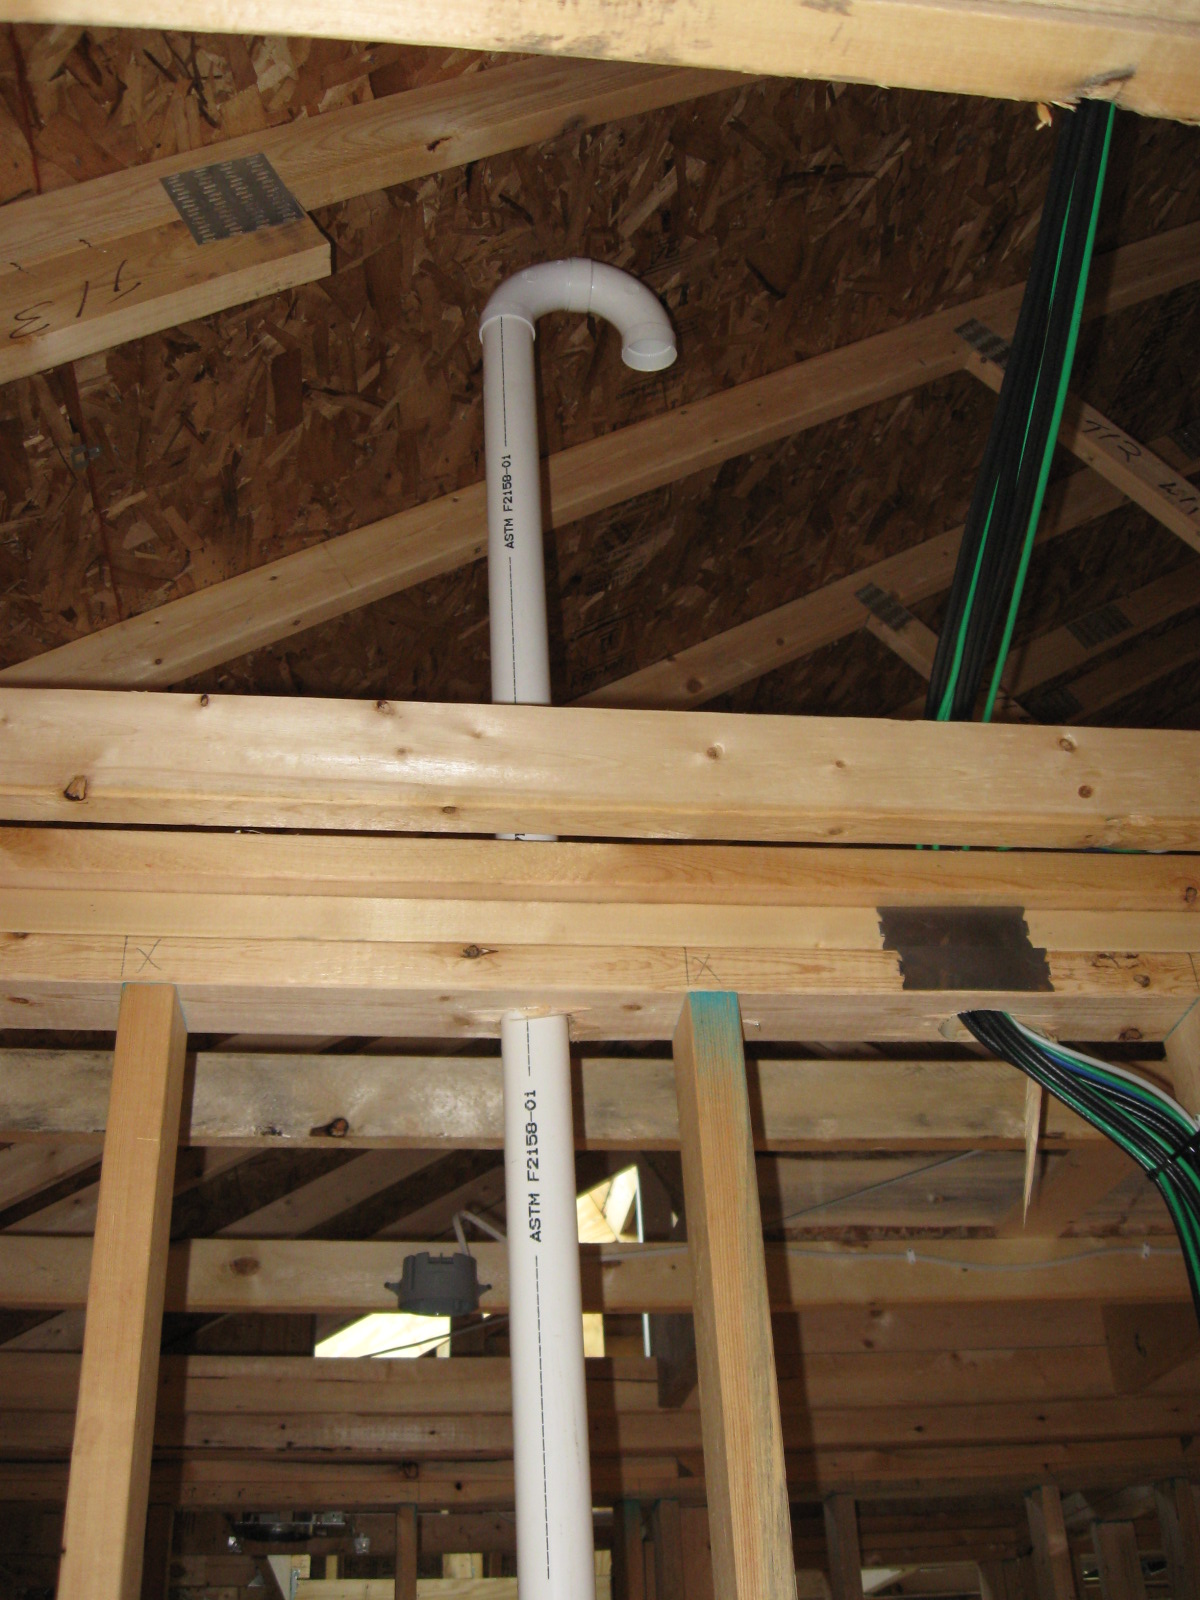
Adding wiring to the second floor after the home is finished can be a challenge. Especially if you have a slab foundation or a finished basement. To make additions easier, you may want to have your electrician run a two inch diameter conduit from the attic down to the main panel area. The conduit should be capped on both ends until it is needed (think rodents, fire spread…etc.).
Electrical Rough-in Quality Check
Here are the major items to be reviewed after the electrical rough-in is complete. It’s sometimes difficult to visualize how circuits have been run at the electrical rough-in. So you may want to walk through the home with your electrician and have them explain everything to you.
- Inspection – Check for an approval sticker…if none is visible, make sure the electrician has called in the inspection to the local building department (you can’t insulate until all of your rough inspections are approved)
- Check Locations – This includes switches, floor outlets, light boxes, recessed can lights, cables, phones, door bell, outside outlets,…etc.
- Main Panel – Review location for future basement finish and make sure all circuit breakers are clearly labeled (this may be done at the final)
- Ceiling Boxes – Check that all of your ceiling boxes are rated to support a ceiling fan. This will allow you, or future owners, to install ceiling fans in the future. If you have any very large, heavy chandeliers, be sure to mention this before the electrical rough-in so additional reinforcement can be added.
- Trim Details – Make sure all switches and outlets will be outside of any trim details. It’s never good to get all the way to the trim carpentry stage and find out you have switches/outlets in the way of the door casings or other moldings.
- Holes – Check that no trusses or beams were drilled or notched in any way. Manufactured floor joists should only be drilled per the manufacturer recommendations. For 2×10 or 2×12 floor joists, they should be drilled per code. Check out this post on drilling floor joists for more details.
- Bath Vents – Typically, your HVAC contractor will install the bath vent ductwork when the rest of the ductwork is installed before the electrical rough-in. Your electrician will typically supply the bath fans at the rough-in. So make sure your electrician secures the ducts to the bath fans since the HVAC contractor won’t be back before drywall.
- Basement Finish – It’s a good idea to have your electrician run the wiring as if the basement is going to be finished. It’s easier for them to run the wiring under the floor joists, but this makes it hard to drywall the ceiling. Be sure to discuss this with your contractor prior to starting the electrical rough-in.
Getting your electrical rough-in right will help you avoid future hassles in your new home. So take the time to check everything prior to moving on to insulation.
<< Reader Question: Interior Door Keeps Closing. What can I do?


