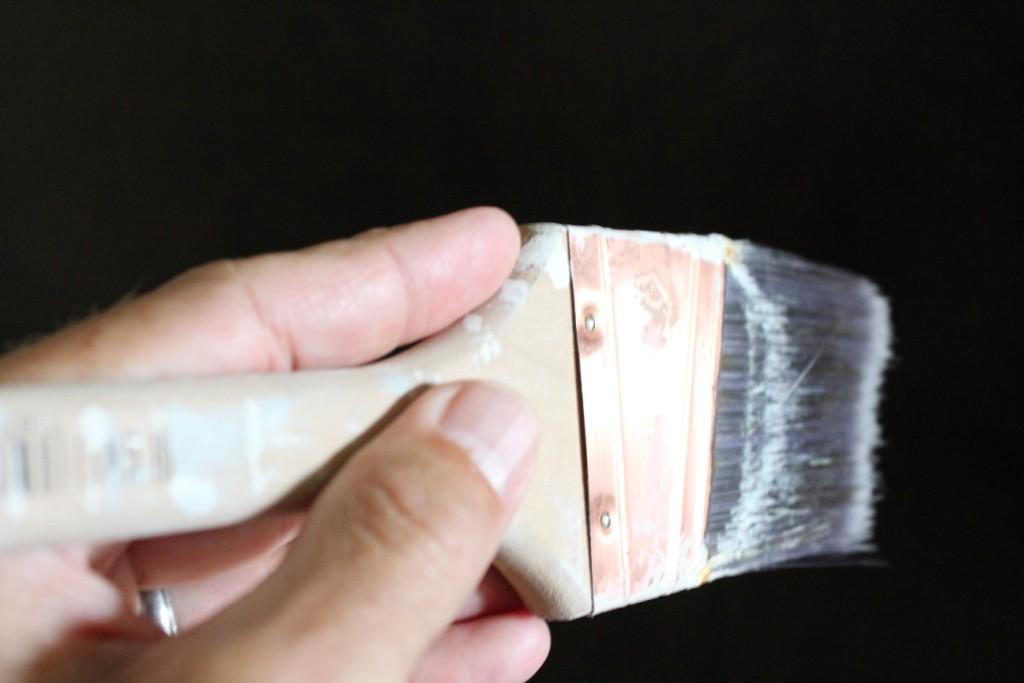
How to Build a Home, Step 42: Paint Walls and Ceilings
0 Comments | Posted by armchairbuilder in Owner-Builder
We continue with our series of articles we call, How to Build a Home, with step 42, prime and paint interior walls and ceilings. This sounds like a simple activity…and it can be, but there are some pro builder tips we can share that will make your life much easier. Let’s take a look at some of the key things you will want to know when painting the drywall surfaces in your dream home.
Who Does It?
Most of you probably answered with a bold…the painter stupid! In many cases you would be correct. However, after building hundreds of homes I grew tired of the painter and drywall contractor constantly fighting with each other. Either the walls were sanded too much or not enough for the painter’s liking. Or the drywall contractor blames the rough wall surface on the painter for using too much paint or not backrolling properly. You name it, and I’ve heard it. So, it was time to take the bullets out of the gun and have my drywall contractor paint the walls and ceilings. Is it easy to find a company that does both drywall and painting? Not really. But it will save you some hassles if you are willing to try. And when it comes time to do the drywall touch-ups later in the schedule, you will make one call to the drywall/painting contractor to fix the drywall and wall paint…and in many cases, they can do both the same day.
Quality Control
There are three big things you need to get a quality wall paint job in your new dream home. First, you need a quality drywall finish. And the best way to evaluate the drywall finish is to get some primer up on the walls and ceilings. So be sure to include in your contractor’s scopes of work and specifications a requirement for them to do a complete spot check after prime to correct any substandard drywall workmanship issues. You want to get these repairs done before painting the walls to minimize touch-ups. As you may know, touch-ups will lead to what is called “flashing” on the walls and ceilings. Some touch-ups will be required later on because of traffic in and out of the home, but we want to minimize them at this stage of the project.
The second major item you need to create a nice, smooth wall surface is a clean wall and floor. After sanding the drywall, there will be drywall dust on the wall surface and floor. This dust needs to be removed prior to painting or you will get a rough finish. The same thing goes for the floor. Most painters will use an airless sprayer to apply the paint to the wall. This process can kick up any dust that’s on the floor and make the lower wall surface feel like sand paper.
Backrolling is another big step that creates a nice, consistent paint application. As mentioned before, most painters will use a sprayer to apply the wall and ceiling paint in a new home build. This is the most efficient way to get the paint up on the walls/ceilings since there are no finished floors, cabinets, or trim in the way yet. So in order to get a quality look and finish, it’s necessary to backroll the surfaces before they dry. Be sure to include this in your scopes of work and specifications.
Protection of Surfaces
It’s very important for the painting contractor to protect all finished surfaces prior to priming. This includes windows, exterior doors, tubs, showers and future vinyl floor areas. That’s right, any subfloor or slab that will have vinyl flooring installed over top should be protected from paint and drywall. This will prevent possible bleed through to the vinyl flooring surface. You will also want to let the painting contractor know of any concrete slab areas that will be stained as these need to be protected as well.
Paint Manufacturer Recommendations
As with all products used in a new home building project, it’s extremely important to read the paint manufacturer’s product directions. Each product is slightly different so make sure a note is included in your Painting Scopes of Work and Specifications that all manufacturer recommendations will be followed.
Schedule
It’s a good idea to give your painter three days in the home to clean, prime, and apply paint to all walls and ceilings. It sounds like a lot to do in three days but remember, there’s no flooring or trim in the way at this point so the paint goes up fast. And because a commercial sprayer is used, the time required is cut in half. You may want to add a day near the end of your schedule to apply the final coat of paint to the walls. Because there will be a lot of workers coming in and out of the home over the next several weeks, it sometimes makes sense to put the final coat of wall paint up near the end of the project. However, be prepared to pay a little more for this as the painting contractor will need to use drop cloths to protect finished flooring.
In order to save some time on your schedule, you may also want to have your interior trim material delivered while the walls and ceilings are being painted. This allows the painting contractor a chance to prime and paint interior trim prior to installation. This will cut down on the amount of work required after trim has been installed.


