DIY Mirror Frame with Glass Tile
0 Comments | Posted by armchairbuilder in Bath Remodel, Cool Design
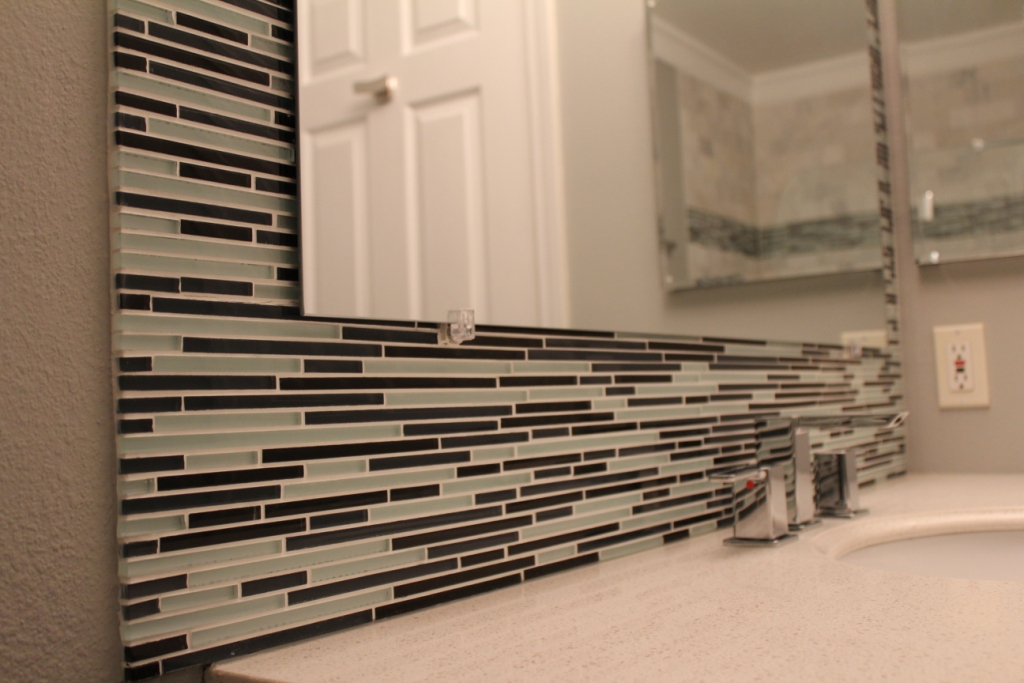
A standard bathroom vanity mirror can be pretty boring. Why not spice it up a bit with a DIY mirror frame with glass mosaic tile? You can add a unique custom look to an inexpensive vanity mirror by framing it out in glass tile. No, we aren’t talking about putting tile on top of the mirror…that just sounds like a mess. Here we will show you how to install an inexpensive mirror and add some bling with a glass tile boarder.
The Materials
The materials for your DIY mirror frame with glass tile are pretty simple. You will need…
- sheet of plywood or cement board slightly thicker than your tile and adhesive and about two inches smaller in width and height than the mirror
- mirror: Nothing fancy…those inexpensive models at your home improvement store will do. Our 3’x4′ mirror in the video below was less than fifty bucks.
- grout (non-sanded) You don’t want to scratch that gorgeous glass tile!
- tile adhesive or Bondera: The Bondera roll adhesive works great for this small project.
- mirror adhesive: Check with your local home improvement store…they make caulk tubes with this adhesive in them for easy application.
- construction adhesive to secure the mirror backerboard/plywood to the wall
- mirror clips: We used just two at the bottom of the mirror to hold it in place until the glue dried.
- glass tile: There are so many options out there today…and some very affordable pricing. For this small amount of tile, you may find a great deal on a closeout!
Tools required…
- tape measure
- level
- tile cutter (glass nippers worked well for our thin bamboo glass tile)
- screw gun
- screws: You will use these to secure the plywood or backer board to the wall while the adhesive dries.
- If you use traditional tile adhesive, you will need a bucket and trowel as well (All you need is a utility knife with Bondera)
- grout float
- caulk gun
DIY Mirror Frame Installation Steps…
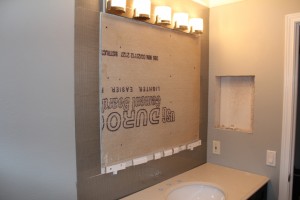
- Measure and cut the mirror backer to be 2 inches smaller than the mirror in width and height
- Center the mirror backer over your vanity and secure to the wall with construction adhesive and screws
- Install wood backers with clips to hold mirror in place (see video below for more details)
- Install Bondera tile adhesive roll on the wall around the mirror backer (or if using regular tile adhesive, spread in small sections at a time)
- Set Tiles starting at the vanity top and continue up and around the mirror backer (when cutting tiles, try to place the rough cut edges under the mirror or at the wall in the corner when possible)
- Remove light fixture: Keeps grout off of your great light!
- Grout
- Re-install light fixture
- Apply mirror adhesive liberally to mirror backer board (or plywood)
- Center mirror on vanity and backer, set into clips and press firmly into the glue
- Silicone the bottom edge of tile to the vanity top to prevent water from getting behind vanity
The Cost
Your DIY mirror frame with glass tile can cost as little as $70 (including the mirror). It will take you the good part of a day to finish this project if you haven’t done a lot of tile work. However, the end result is really nice.
Check out our new ArmchairBuilder.com video that gives more details on DIY mirror frame installation. If you’re looking for a wood frame for your vanity mirror instead, check out our other video on Mirror Framing. Have you ever thought about building your own home? Be sure to stop by the Armchair Builder How to Build Your Own Home resource page.


