Install Trim and Cabinets
0 Comments | Posted by armchairbuilder in Build Your Own Home, Owner-Builder
How to Build a Home, Step 44
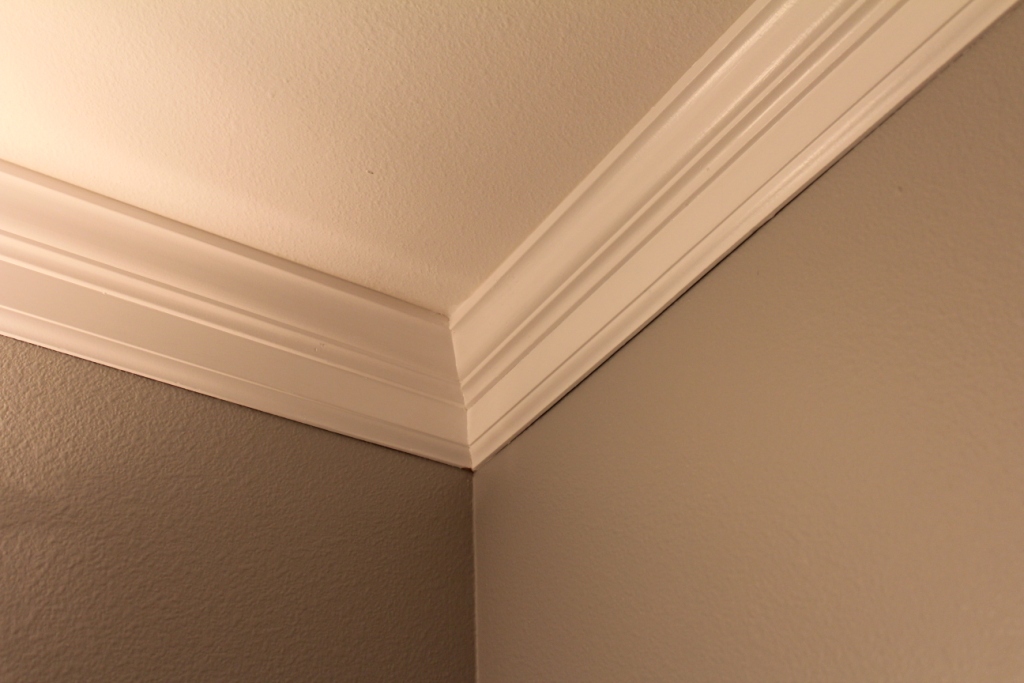
We install trim and cabinets in your new home after the bath tile, hardwood and vinyl floors have been installed. This allows the trim carpenter to set vanities up tight to tiled areas and install base and shoe molding. Here we share with you some builder tips for making sure your trim carpenter gets the job done right.
Schedule
Delivery: It’s important to have the trim and cabinets delivered the day before the trim carpenter is scheduled to start. This allows for time to check that everything was shipped prior to the carpenter showing up. If critical items are missing, you can call the suppliers to get them to the house before the carpenter is finished with the activity. Be sure to have the house locked up at the end of the day as the average home’s trim and cabinets can cost $10k-$25k depending on the quality chosen. If you had the trim and doors delivered at the wall painting stage, they should already have been painted with the first coat prior to installation. This will save your painting contractor some time.
Cabinet Installation: It’s important to have your trim carpenter set the cabinets first before trim install. This will allow the countertop fabricator to measure right away. It can take up to two weeks to fabricate stone or solid surface tops from the time of measure, so it’s important to get them started right away. The countertop company needs to measure to make sure any minor cabinet changes are incorporated into the countertop design. The cabinet installation can take a day or two depending on the size and complexity of the layouts, options chosen, and the size of your crew.
Trim Carpentry: If you’re using the typical pre-hung doors with casing already applied to one side, the trim carpentry activity goes fast. With a crew of seasoned carpenters, a whole house can be done in two days. Just be sure you give them plenty of time…the painter is coming next and you want them to be able to spray all of the trim at once.
Quality Check for Install Cabinets
- All cutouts in cabinets for plumbing, electrical and ducting shall be within 1/4 inch of the pipe, wire or duct. Sloppy, gaping holes scream amateur.
- Cardboard shipping boxes should have been broken down and placed in the designated recycling area.
- All cabinets should be plumb, level and square and installed per the layouts.
- Cabinet doors, drawers and lazy susans should be adjusted and operate properly.
- All cabinet hardware should be installed and straight.
- Cabinets should be cut to fit all built-in appliance specifications (i.e. microwaves, ovens, drop-in cooktops…etc.)
Quality Check for Install Trim
- All trim and moldings should be installed by the time the carpenter leaves the project. This will allow the painter the opportunity to spray the entire job all at once…which will give you a better finish.
- All base molding should be set 3/8″ off the subfloor in carpet areas and be tight to the hard surface flooring surface.
- Interior doors should be shimmed and fastened at each hinge and at the top, middle, and bottom of the striker side of the jamb.
- No square butt joints should be used where two pieces of trim come together…only scarf joints (a.k.a. beveled joints)
- All hand rails should be installed per code. Wall rail code requirements can be tricky so be sure to read you local code before checking these.
- All nails should be recessed so the painter can apply putty to hide them.
- All moldings are be plumb and level with tight joints.
These are the major items to be concerned about to make certain your trim and cabinet installation is of the utmost quality. Did you see our last five steps on how to build a home? If not, check out the links below…and take a look around our blog for the first forty steps. Are you building a new home? If so, we’d love to hear about it!
Hard Surface Flooring Installation, Step 43
Paint Walls and Ceilings, Step 42
Install Masonry, Siding and Garage Doors, Step 41
Drywall Finish, Step 40
Insulating Your Home, Step 39


