Seal Up Your New Home Properly
0 Comments | Posted by armchairbuilder in Build Your Own Home, Owner-Builder, Quality Check
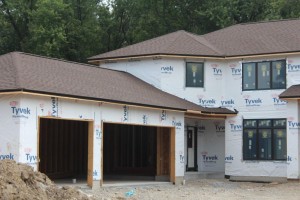
My wife absolutely hates bugs of any kind. I’m personally more concerned about drafts that are constantly trying to make their way through the exterior walls. Whether you want to keep pests out or just want to keep your energy bills low, it’s important to do a thorough job sealing up the exterior walls in your new home while it’s being built. In this article we discuss how to properly seal up your new home to keep outside air and bugs from getting in.
Schedule to Seal Up Your New Home
If you remember only one thing from this article it should be this… it’s imperative to seal up your new home throughout the building process. Even though this sounds obvious, it has some serious meaning. You can’t expect to show up at the end of a new home build and seal up all the nooks and crannies. Why? Because most of the gaps will be covered up at that point…so you won’t be able to get to them. In this article I will be giving you the locations to caulk, foam or glue in the specific construction phases in which they should be sealed up. This way, you can hold your contractors accountable for getting it right throughout the process. Because if you wait to check after all work is complete, it will be too late.
Foundation
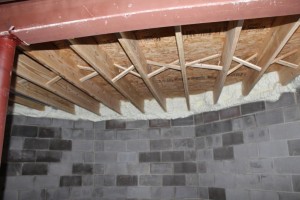
Contractors typically get this right the first time because if it’s missed, the outcome is almost always an obvious problem in the form of a water leak into your basement or crawl space. And since builders hate callbacks, they do everything possible to seal up the home at the foundation stage. Any protrusions through the basement or crawl space foundation wall should be sealed with a high grade waterproofing sealant. This would include plumbing, electrical, HVAC…etc.
Frame
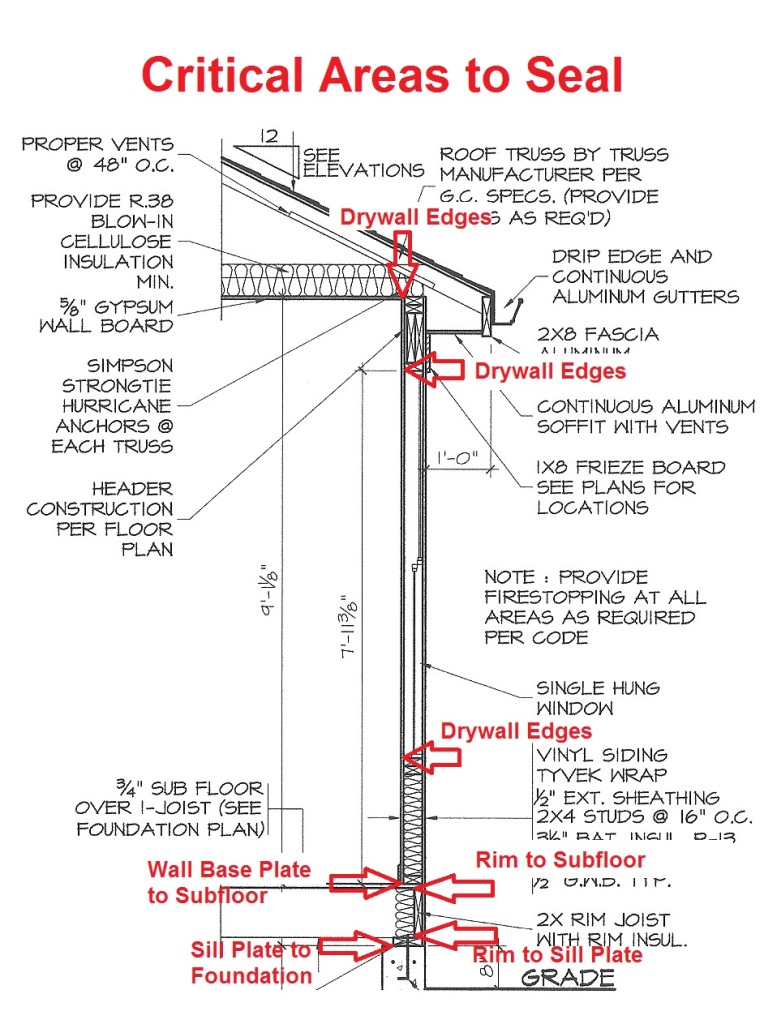
The framing stage is probably the most critical to properly seal up your new home. Once the framing is covered with insulation and drywall, it will be nearly impossible to get to it. Here are the key areas to look for…
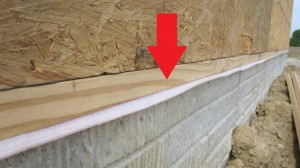
Sill Plate– This is the 2×6 or 2×8 that is anchored to the top of the foundation wall. It’s important to get a good seal between this wood and the foundation. Sill sealer is typically used here (see photo below). It’s a foam material that provides both an air/bug seal and a gap between the wood and the concrete.
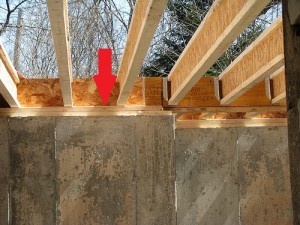
Rim Joist – In a home with a basement, the floor joists rest on the sill plate. The 2×10 or 2×12 (or even OSB when manufactured joists are used…see photo below) that surrounds the floor framing at the perimeter is called a rim or band joist. It’s important to seal up the top and bottom edge of this joist…1) where the rim joist meets the sill plate, 2) where the top of the rim joist meets the bottom edge of the subfloor sheathing.
Base Plate – The bottom of all exterior walls need to be sealed to the floor. In the case of a slab condition, this would be the concrete and in a home with a basement or crawl space, the subfloor sheathing.
Wall Sheathing – The outside walls of your home will have some type of sheathing covering them. Either OSB (oriented strand board), plywood, foam or some other similar panel material. These panels usually come in 4’x8′ or 4’x9′ pieces. So it’s important to seal the edges of these panels as they will have gaps up to 1/8″. In most cases, your housewrap should suffice. If you are not using a housewrap, it’s important to use some other method to seal them…like a building tape.
Holes – In order to properly seal up your new home, any holes or cutouts in the rim joist or wall sheathing should be caulked or foamed. This would include holes drilled for electrical, plumbing, vents…etc.
Top of Wall – If your home has a second floor, this process should be repeated starting with the rim joist that sits on top of the first floor exterior walls.
Drywall
After the drywall board is installed, it’s important to seal up all of the edges of the drywall. When I say “all” here, I mean all drywall located on exterior walls and ceilings adjacent to any unconditioned attic space. This would include…
Top and Bottom of Walls – If your drywall hanger is using glue, they can apply a continuous bead to the bottom and top plate of the wall. Just be sure that the bead is continuous or it will leave you with an air gap.
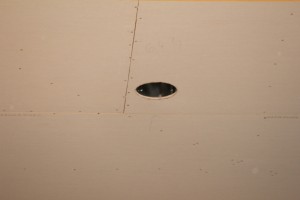
Cutouts – It’s also important to caulk any areas that have been cut. This includes cutouts for windows, electrical boxes, vents,…etc.
Don’t forget to seal up any walls adjacent to attic space. If you have vaulted ceilings, you will have knee walls that need to be caulked and/or foamed as well. In order to properly seal up your new home, you will need to address all walls and ceilings that contain insulation.
For other good tips on air sealing, insulation,and energy savings, check out the ArmchairBuilder.com articles below.
Home Air Leaks: Tips to Minimize
Energy Saving Ideas for Your New Home
For more home air sealing ideas from some really smart people, check out the Building Science Corporation website.
Have you checked out our new e-book, Building a Home: A Step by Step Guide? We provide all the detailed steps necessary to plan and build your new dream home. You can check it out at the ESTORE.

