Install Masonry, Siding, and Garage Doors
0 Comments | Posted by armchairbuilder in Build Your Own Home, Owner-Builder
How to Build a Home, Step 41
We install masonry, siding, and overhead garage doors sometime around drywall installation. These are non-critical path activities when building a home. Meaning, these activities won’t typically hold up the new home schedule in any meaningful way. However, there are a few key events that should be noted. Here we discuss step 41 in our How to Build a Home series of articles.
Schedule to Install Masonry, Siding, Garage Doors
When building new you need to weatherproof the exterior prior to insulating your new home. And since we’ve included housewrap in our framing schedule, you should be weather tight at this point (be sure to check with your local building department to see if they are ok with this). That being said, there are some key milestone dates that an owner builder will want to work around to install masonry and siding.
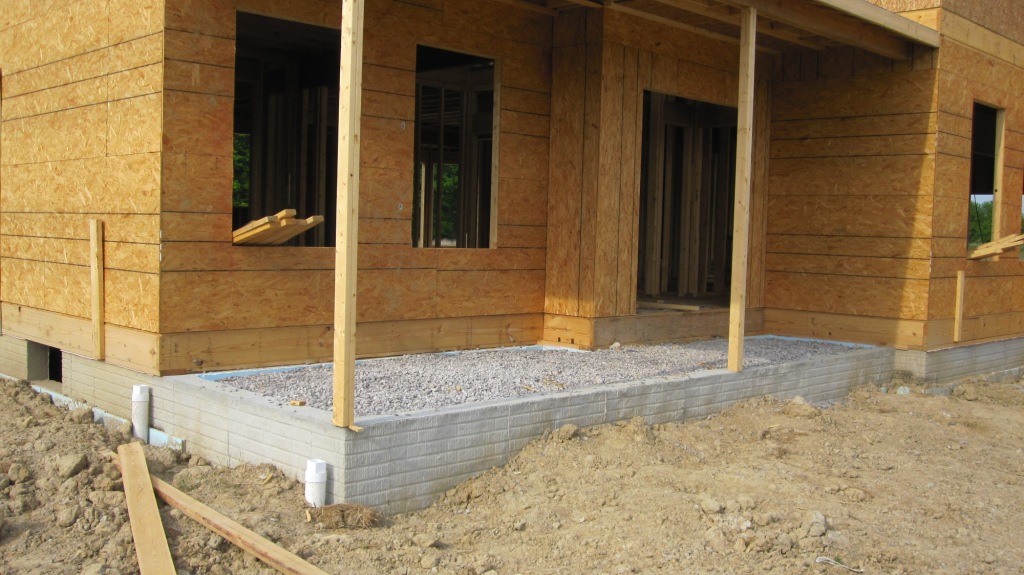
Porches – When we say porches, we’re talking about the concrete slabs supported by the foundation and poured up next to the home. If you have brick on the walls adjacent to these concrete slabs, you will want to install the brick prior to pouring. Why? Typically brick is supported by a foundation brick ledge. If the porch slab is poured before you install masonry, the brick will need to sit on top of the porch slab. But why is this a big deal? It’s not a problem until you need to replace the concrete porch slab. For example, let’s say you want to remove the slab ten years down the road due to spalling or excessive cracking. If the masonry rests on top of it, you will have a difficult time removing the slab without damaging the brick. So it makes sense to install masonry, at least brick, prior to pouring any adjacent concrete porch slabs.
Vinyl Siding – You’ve probably heard the term settlement in new homes. It can be caused by shrinkage in the wood and by weight being placed into a home. After installing vinyl siding on hundreds of new homes, we found that we get fewer buckling and installation issues in vinyl siding if we apply siding after stocking drywall in the home. The weight of the drywall helps to compress and settle the house out…especially at the rim board (the band of wood that surrounds the floor framing). Have you noticed the siding covering the rim board on many new homes has a buckled look to it? By installing the vinyl siding after drywall stock you can help minimize this issue. FYI – We are discussing vinyl siding because it’s installed on about 1/3 of all new homes.
Overhead Garage Doors – It’s good to install these after hanging drywall so the board will be continuous around the ceiling brackets. This provides the best separation should a fire break out in your garage. The drywall finish is also a messy process that can get all over a nice, new expensive door and automatic opener. So ideally, the overhead door should be installed just after drywall finish. However, we want the overhead garage doors to be installed prior to cabinet delivery. This will allow the cabinets to be securely locked in the garage to prevent theft while waiting to be installed.
Quality Checks for Vinyl Siding
Here are some professional builder quality inspection tips to help ensure your vinyl siding contractor gets it right the first time.
- Seams – On the sides of the home, these should all face the rear to make them less visible. Meaning, the installation should begin at the rear corner of the sides of the home and work forward.
- Nailing – Vinyl siding should never be nailed tight. Because vinyl expands and contracts, tight fasteners will create problems. Nails should only go through the slots on the siding panels…which are much bigger than the actual nails to allow for movement. As always, the manufacturer instructions should be followed exactly.
- Drip Cap – All Doors and windows that don’t come with a nailing flange should have drip cap (a.k.a. flashing) installed above them to drain water that gets behind the siding. Otherwise, water that gets behind the siding will run down into the tops of windows and doors causing deterioration over time.
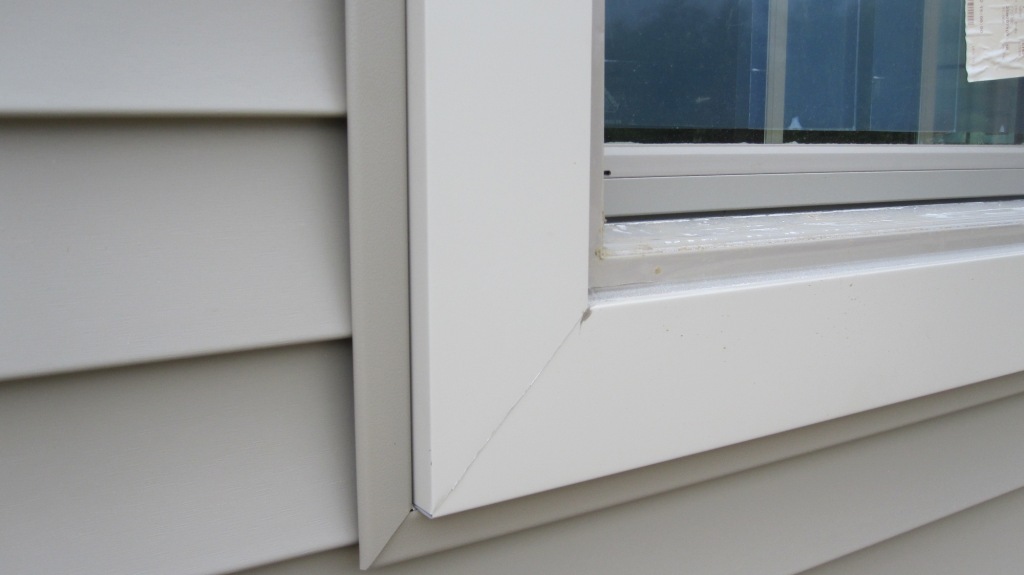
- J-Channel – The trim that covers the edges of the cut siding is called J-channel. Each piece of J-channel should be back caulked prior to installation.
- Light Blocks/Vent Covers – Include in your scopes of work and specifications a note that all accessories shall (i.e. light blocks and vent covers) shall be supplied and installed by siding contractor. Light blocks are basically a box the same color as the siding that exterior lights attach to. These blocks have a built-in j-channel to direct water away.
- Dropped Siding – If you recall back to the house foundation preparation, step 25 of our How to Build a Home series, we talked about how sleepers, also called siding nailers in the foundation, are sometimes used. These pieces of wood embedded into the foundation give the siding contractor something to nail into where the grade drops. Make sure the siding is installed per the grade elevation/grading plan.
Check out this article for tips on vinyl siding repair.
Quality Tips for Brick Installation
- Gaps at Windows – Follow the window manufacturer specifications for leaving gaps at the windows. If the brick is installed too tight to the frames, you may have buckling problems…especially with vinyl windows that expand and contract with temperatures changes.
- Brick Ledge – Make certain that all brick is supported by foundation or steel support. Absolutely no brick should rest on wood.
- Brick Ties – Brick ties are straps that are embedded into the mortar joints and then nailed to the house framing. These straps provide support to the brick so it doesn’t topple over. Spacing should be per local code & manufacturer and all metal straps should be corrosion resistant.
- Airspace – The masonry contractor should leave a minimum of one inch airspace between the brick and the house. This allows for proper drainage and drying behind the brick.
- Vapor Barrier – There should be a vapor barrier used in all brick locations. Check your housewrap manufacturer’s details to see if it will serve this purpose.
- Rubber Flashing – Flashing should be installed by the mason over all windows and doors. The top of the flashing should be adhered to the house wall and shall extend a minimum of 6 inches past each window and door.
- Sills installed at windows and doors should have a minimum pitch of 1/4 inch to allow water to run away from the home.
- Weep Holes are to be installed by the mason every 24 inches above the grade line. These holes allow any water that gets behind the brick a means to escape.
- Address Stone – The address stone should be placed per plan or your direction.
Be sure to check with your local building department to determine the code they use as well as any specific interpretations. Each local building department has codes they enforce and may have their own specific additions to consider when building a new home. Did you miss the previous step in the Armchair Builder How to Build a Home, blog series? You can check out step 40, Drywall Finish.


